Beginner’s Guide to Using Target Groups with AWS Load Balancer
Published on: June 20, 2025 • 2 min read
Step-by-Step Guide to Configuring an EC2 Instance with a Target Group and Load Balancer
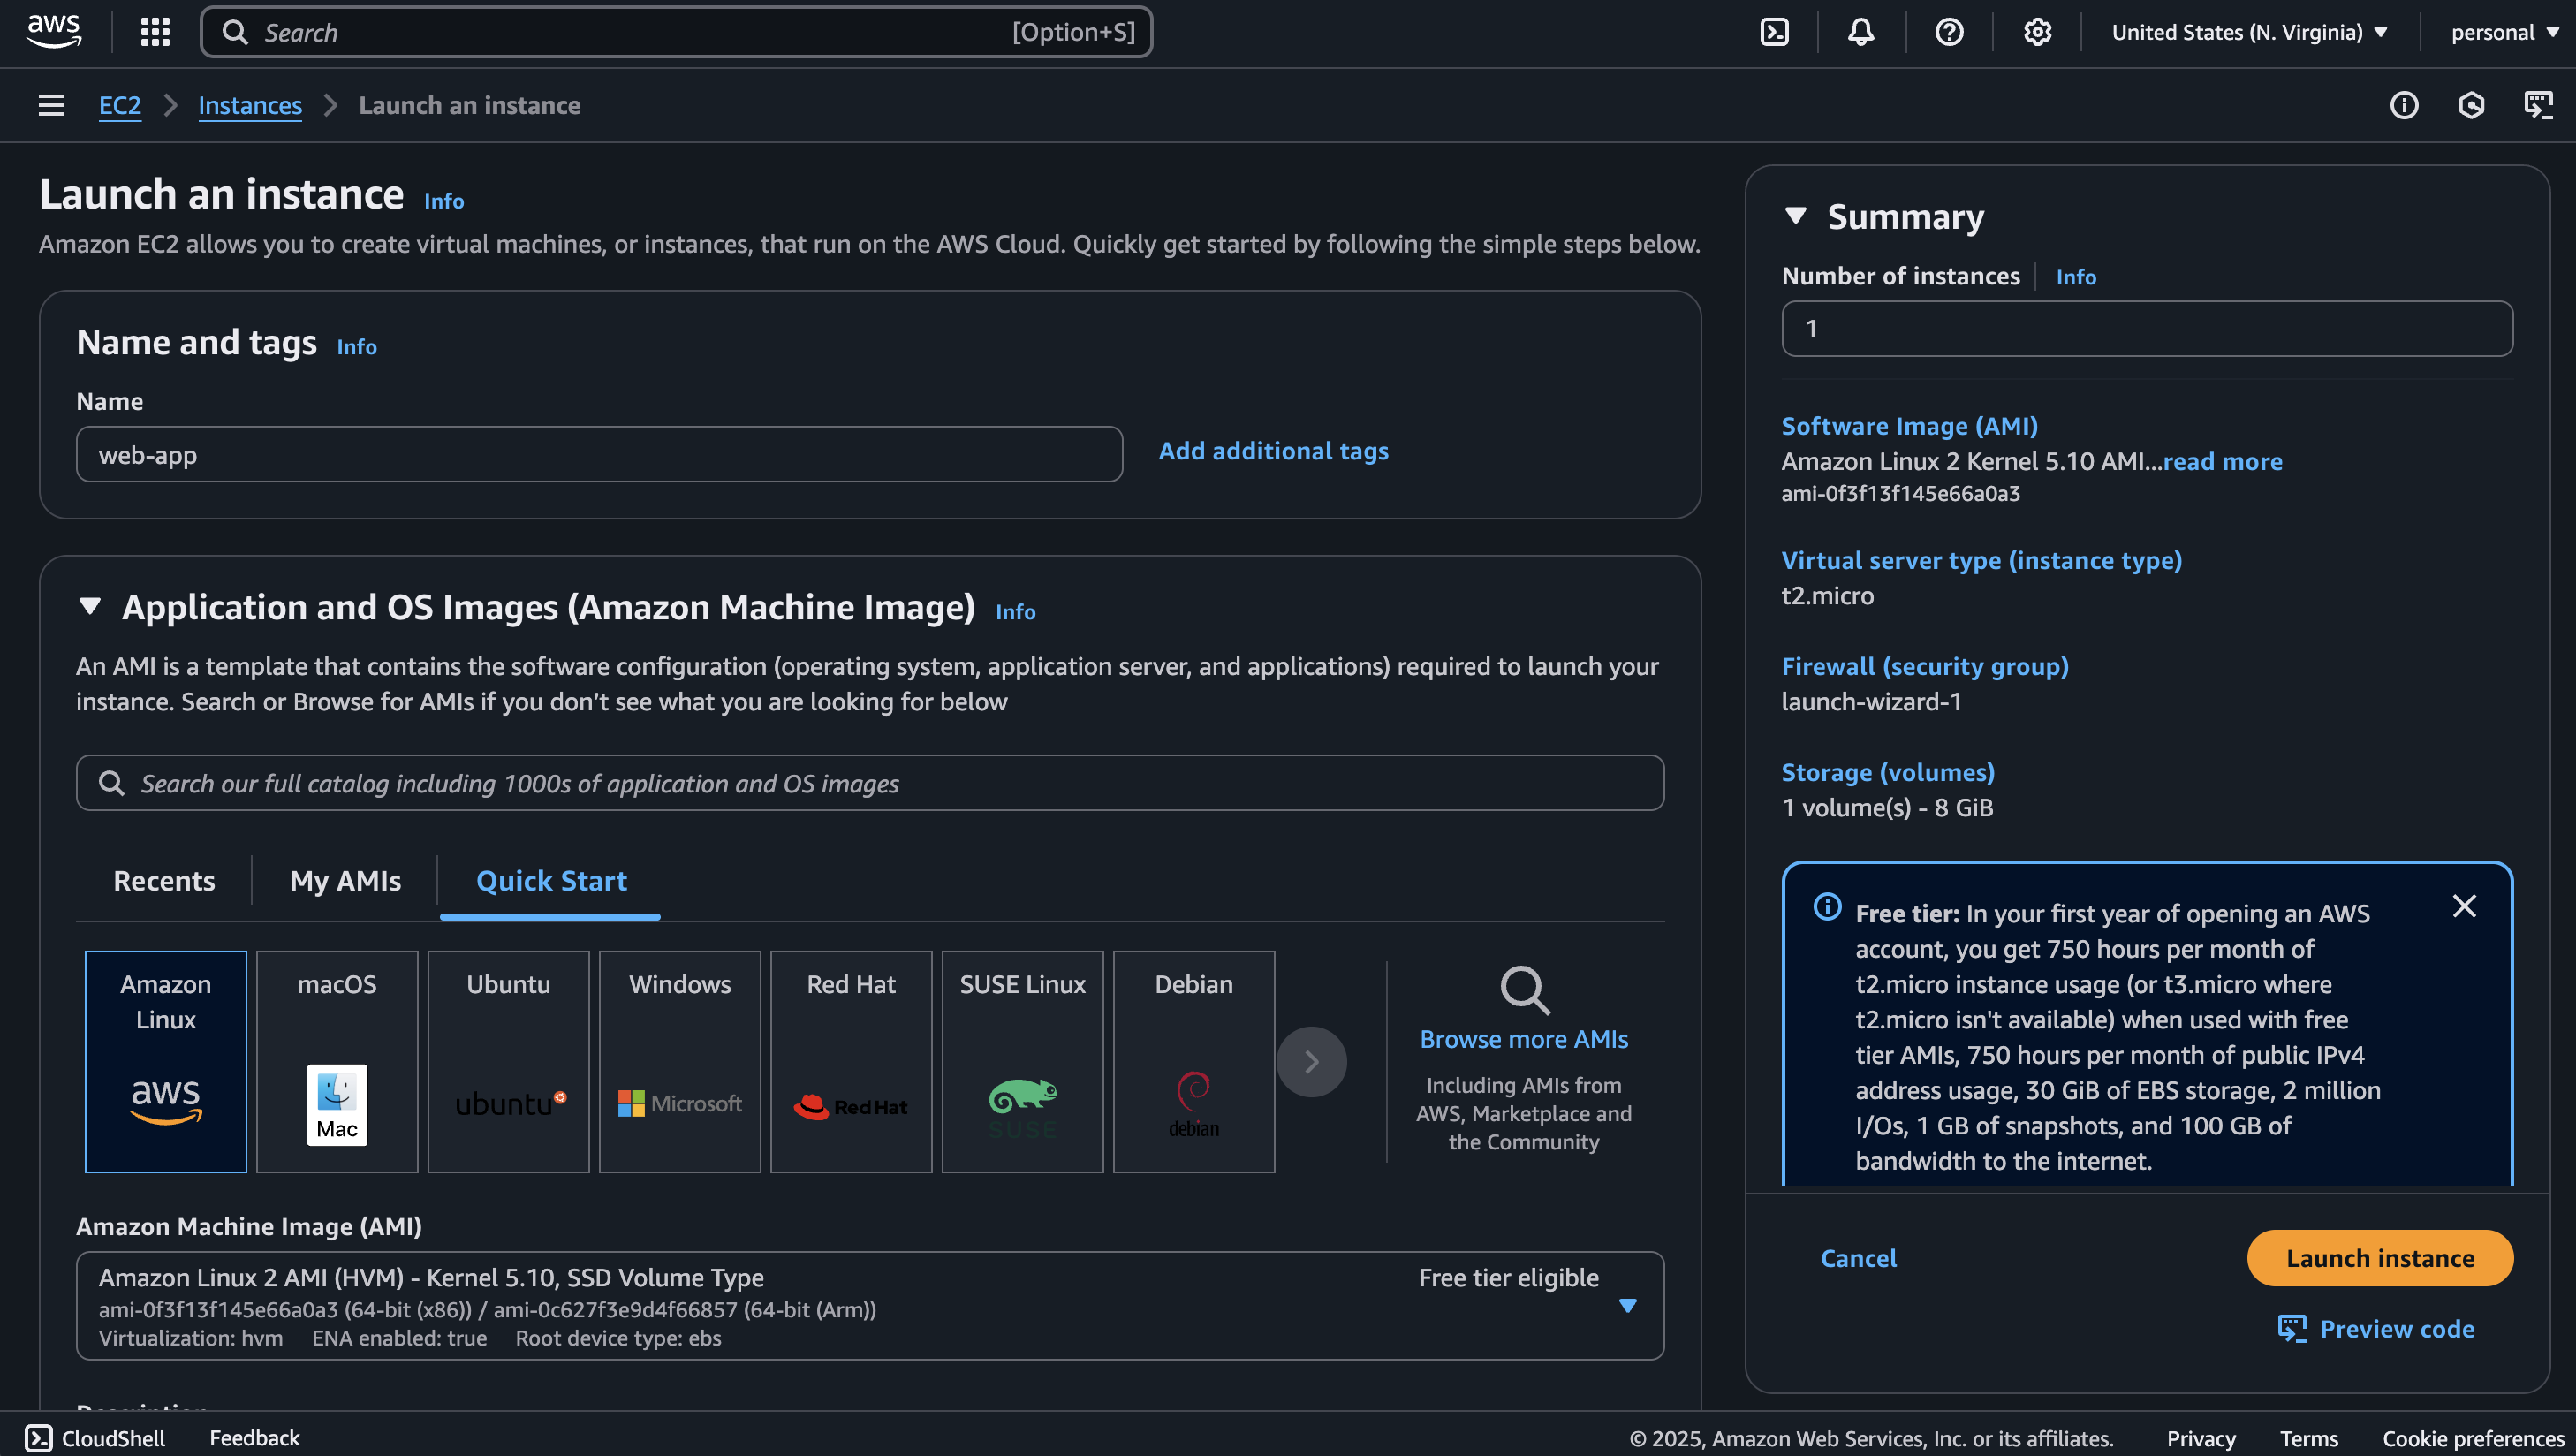
Go to the AWS Console and search for EC2. Click on EC2, then select Instances from the left menu or under the Resources section.
Click on Launch Instances. and Enter a name for your instance.
Choose the AMI: Amazon Linux 2 AMI.
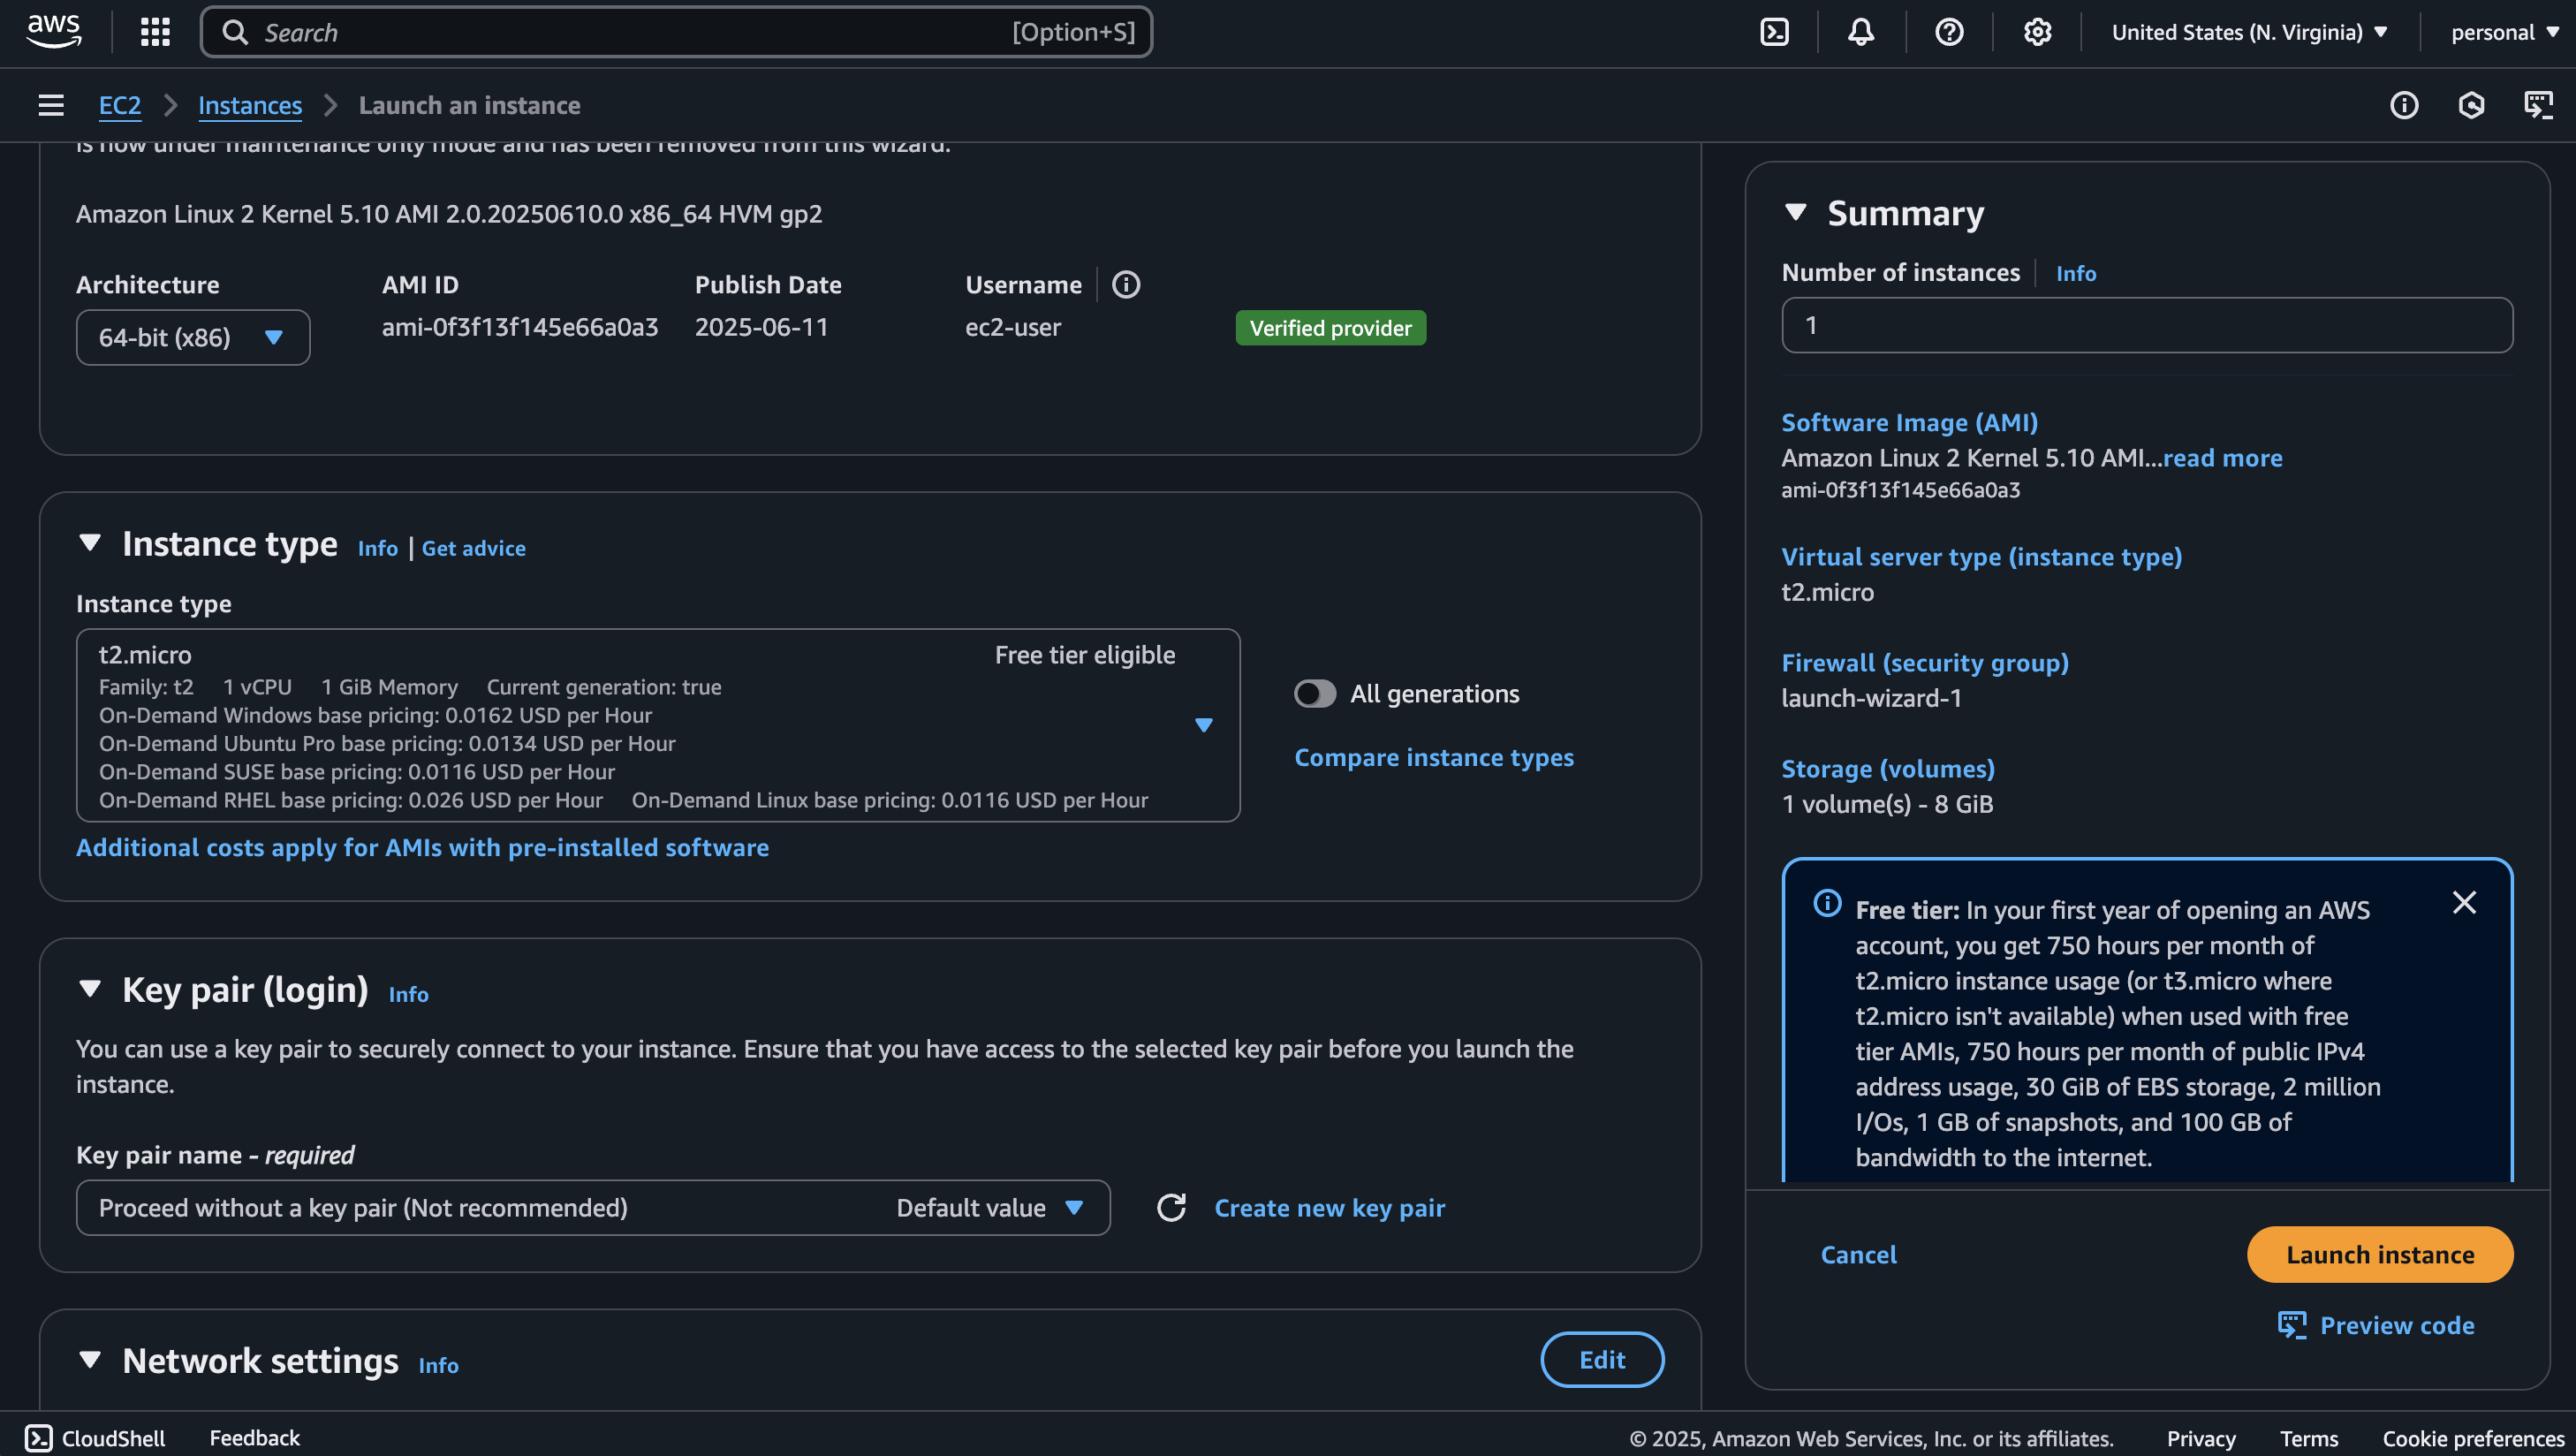
Select an instance type that is Free Tier eligible to avoid charges.
To access the server via SSH, either create/choose a key pair or select Proceed without a key pair
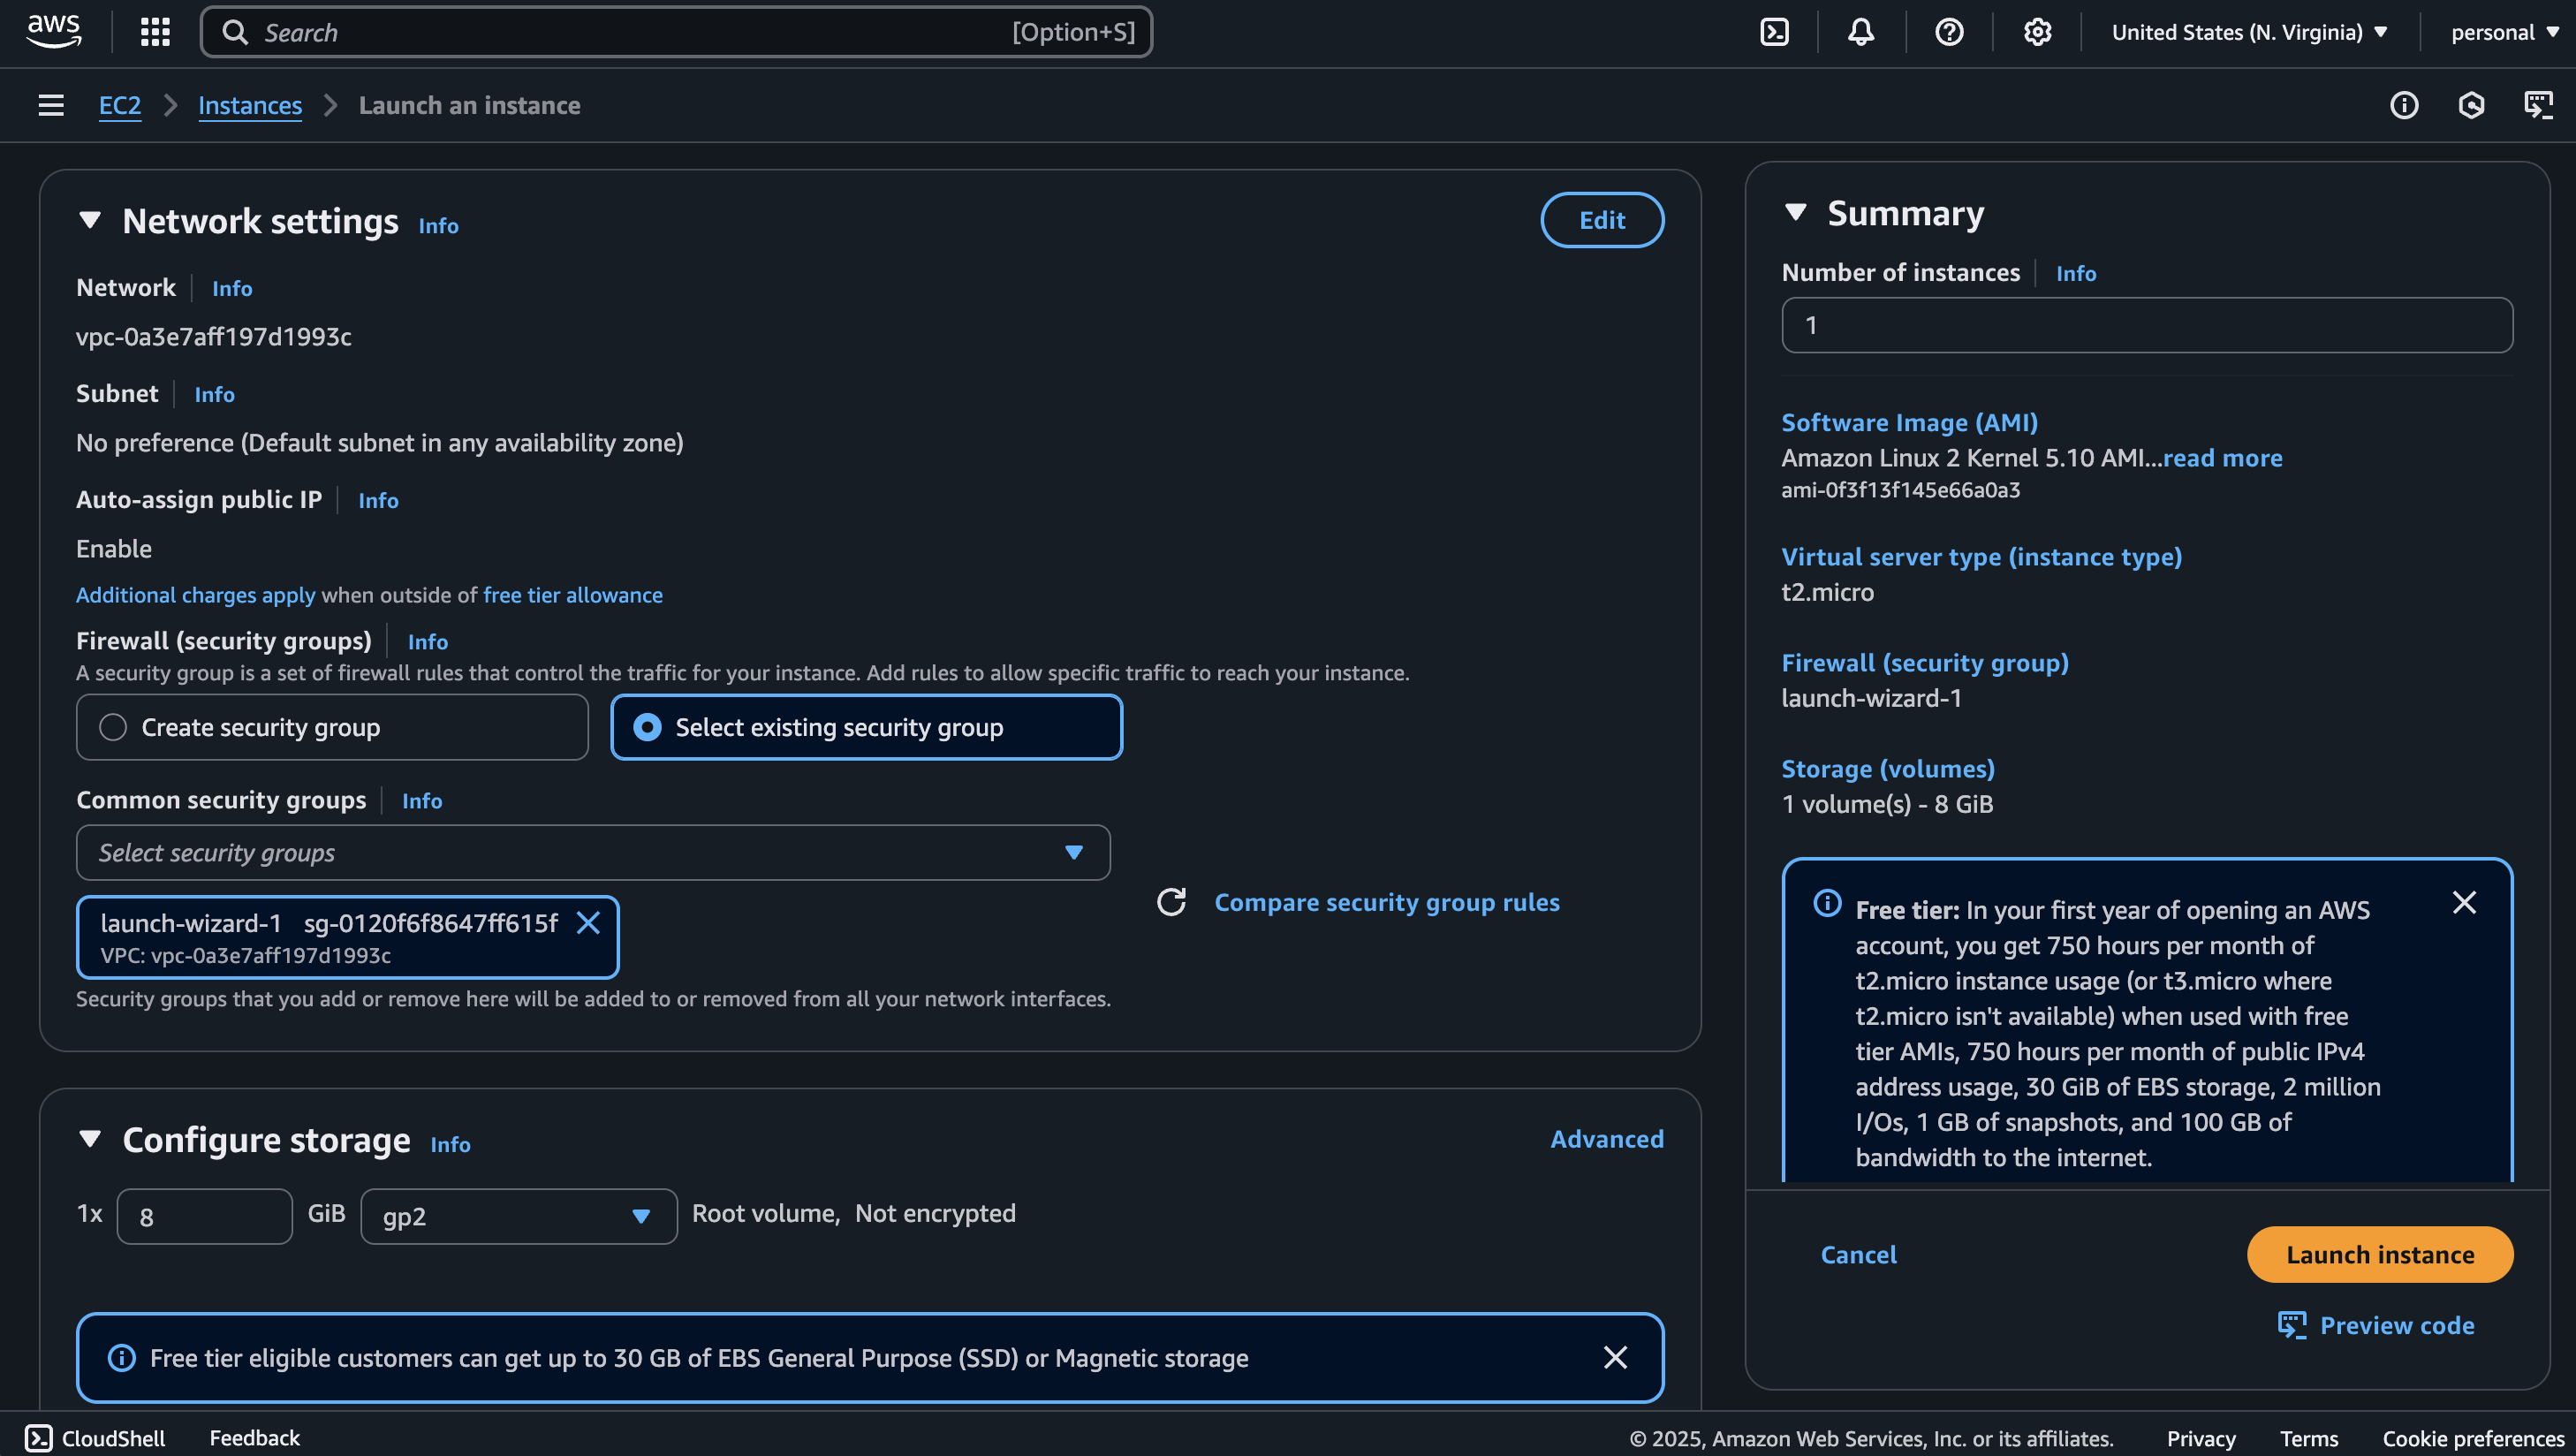
Choose a custom VPC if needed, or keep the default VPC selected.
Select an existing security group, or create a new one with port 80 and port 22 open in the inbound rules.
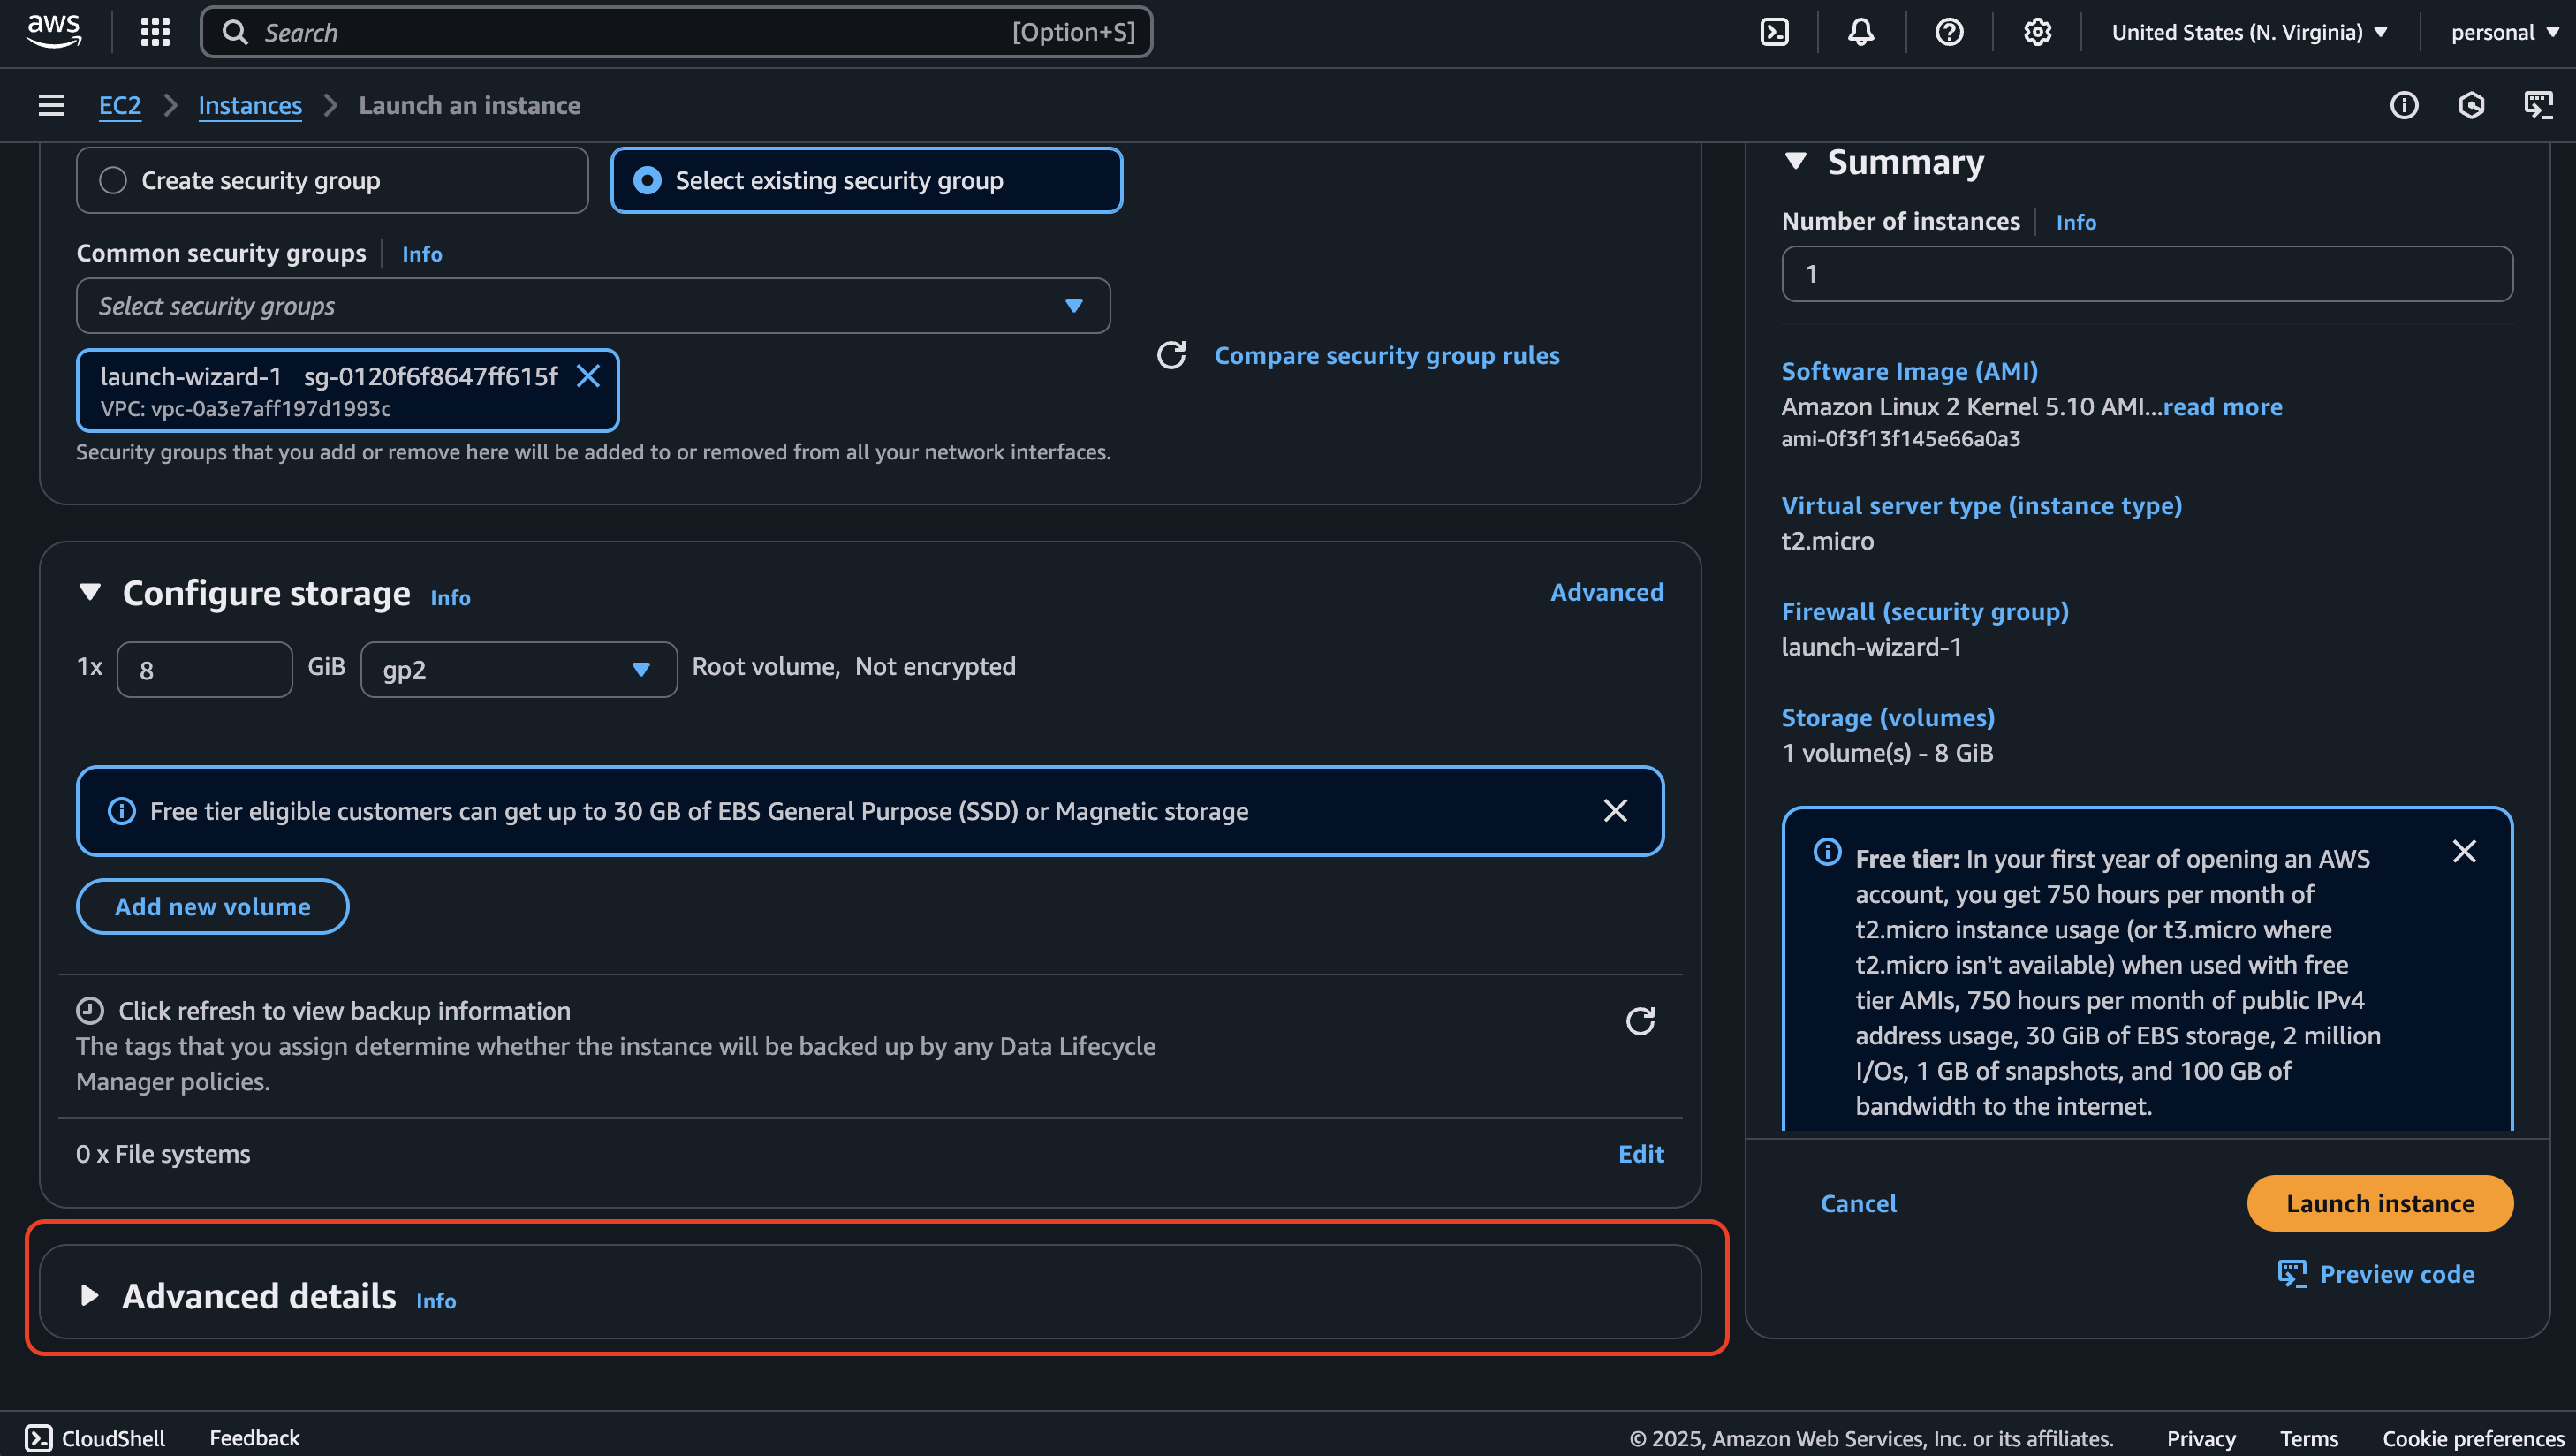
Keep the remaining settings as default and click on Advanced.
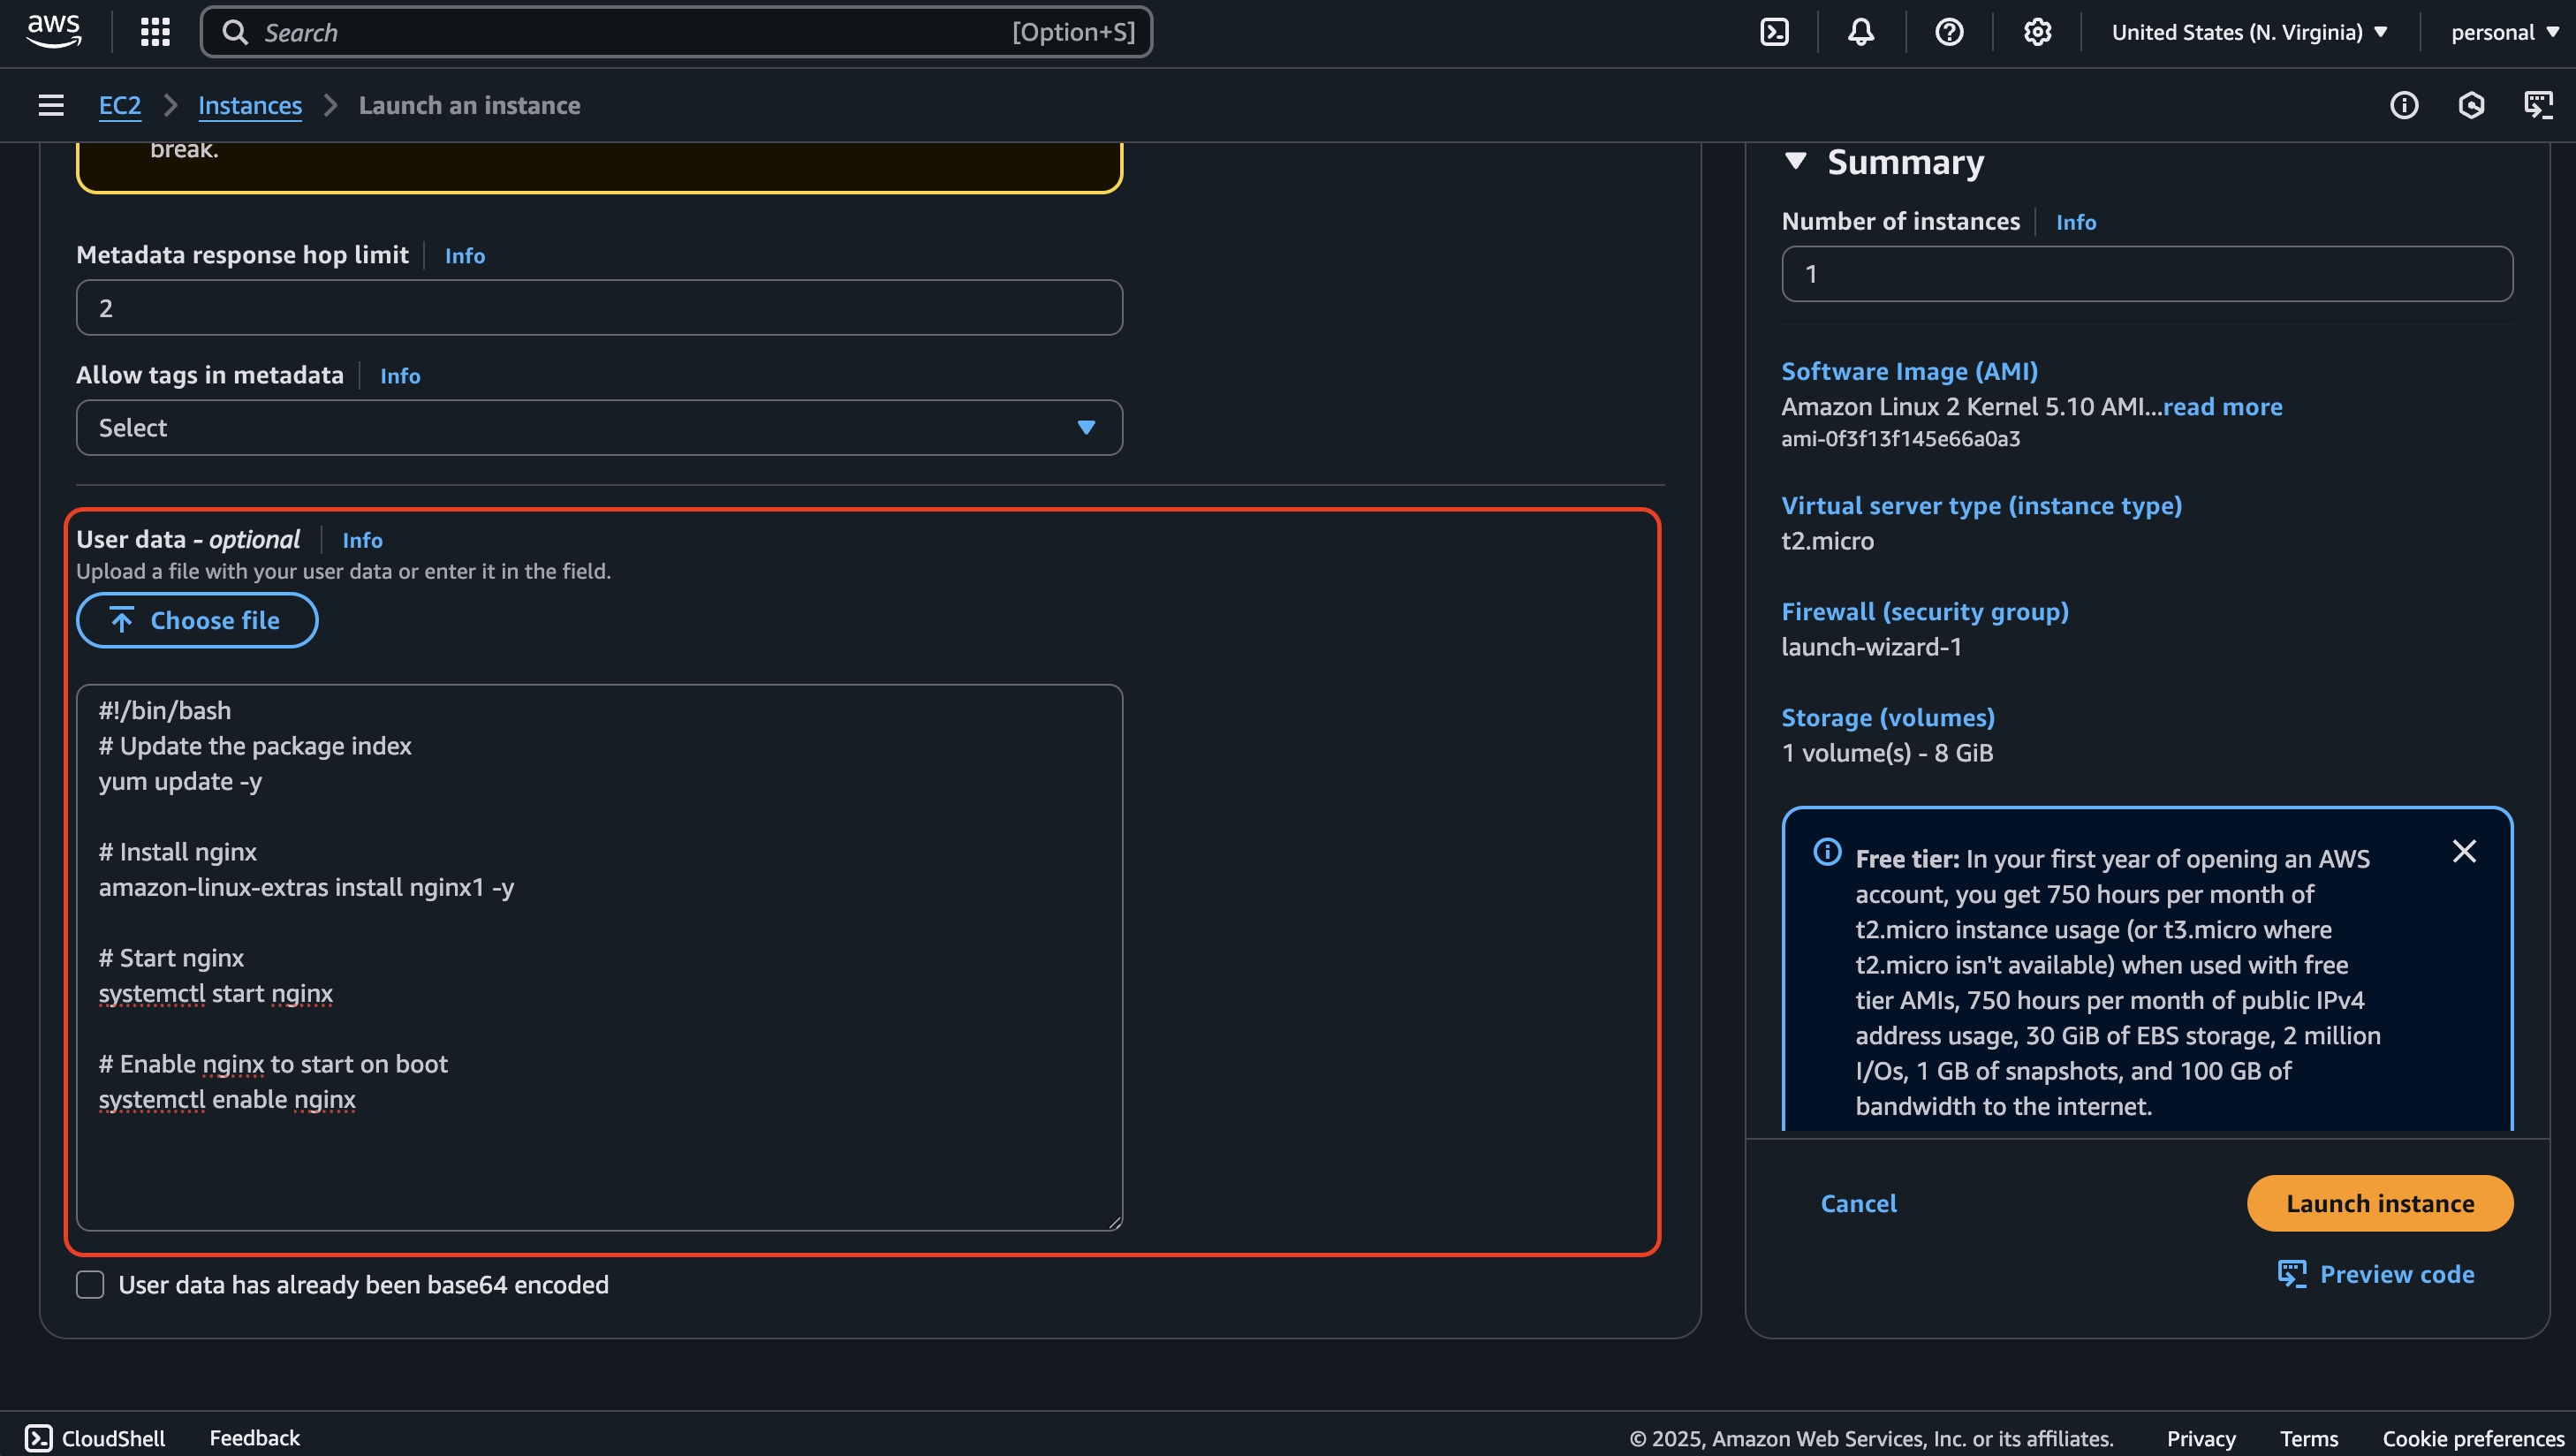
At the bottom, you’ll find a section for User data.
Paste the following script to install and start the Nginx web server after launch:
    #!/bin/bash
    set -euxo pipefail

    # Update system
    yum update -y

    # Install amazon-linux-extras if missing
    yum install -y amazon-linux-extras

    # Enable nginx and install it
    amazon-linux-extras enable nginx1
    yum clean metadata
    yum install -y nginx

    # Start nginx
    systemctl start nginx
    systemctl enable nginx
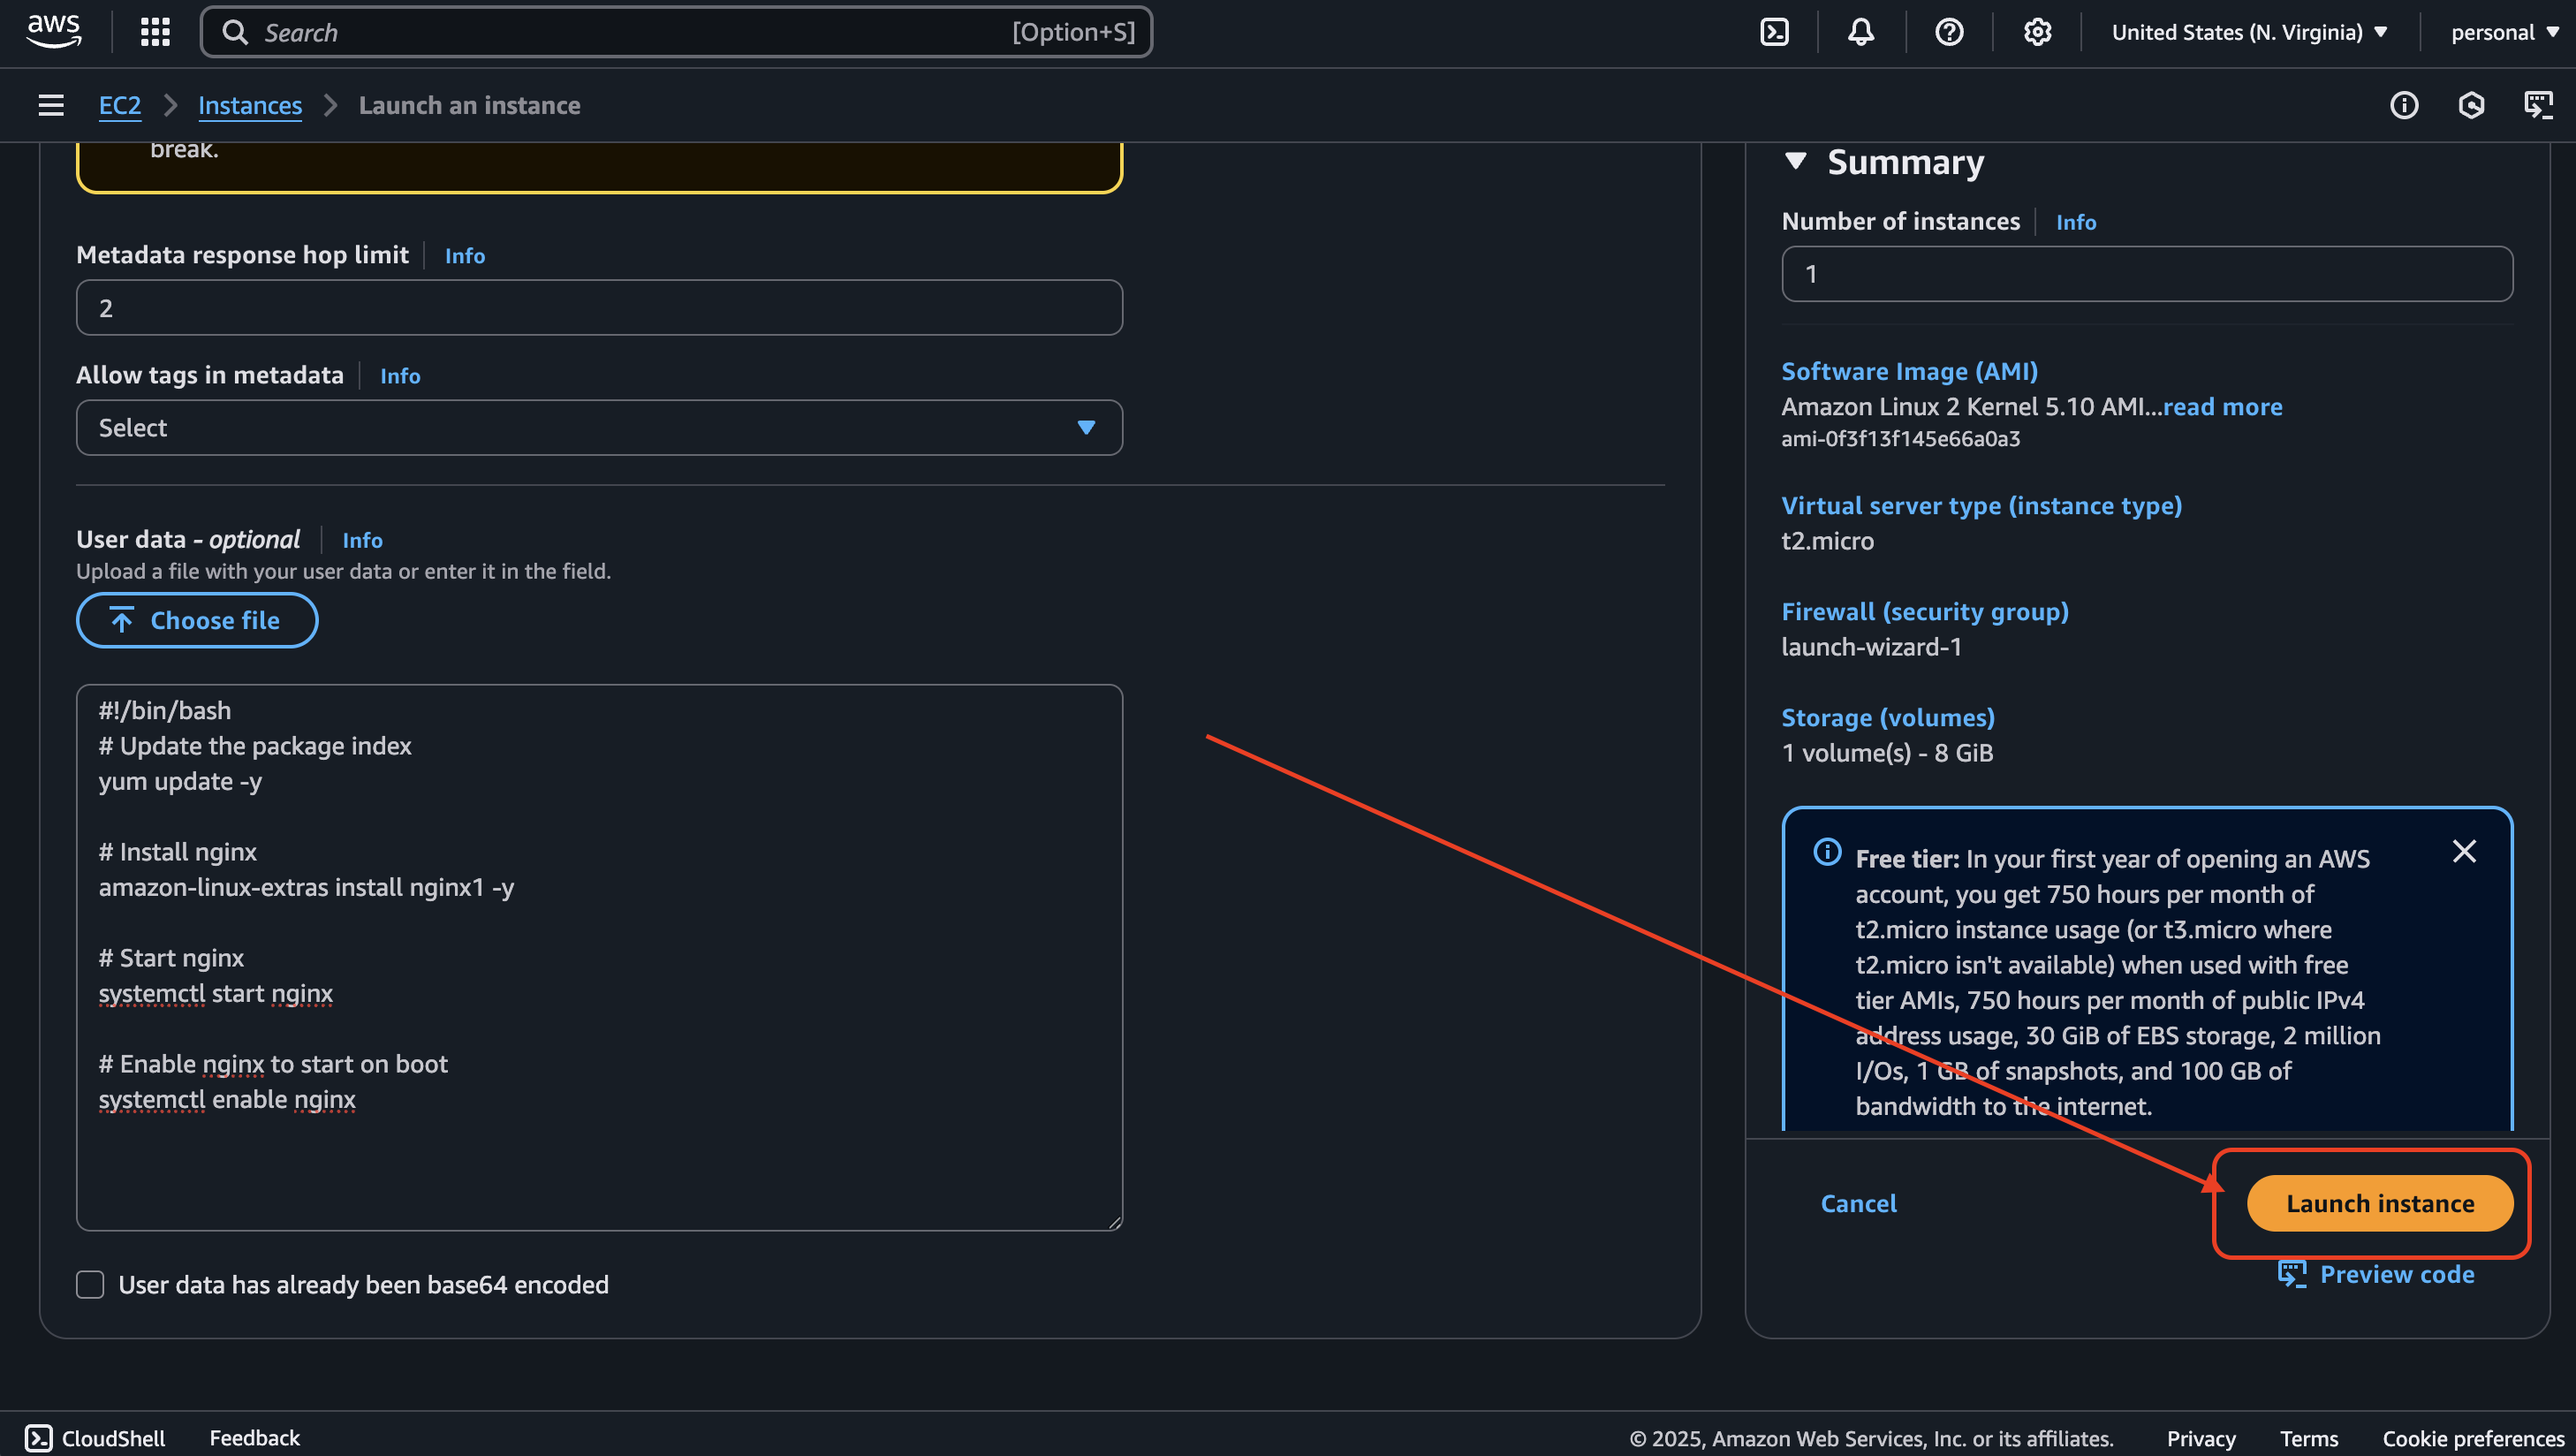
You can view the summary on the right side, then click on Launch Instance.
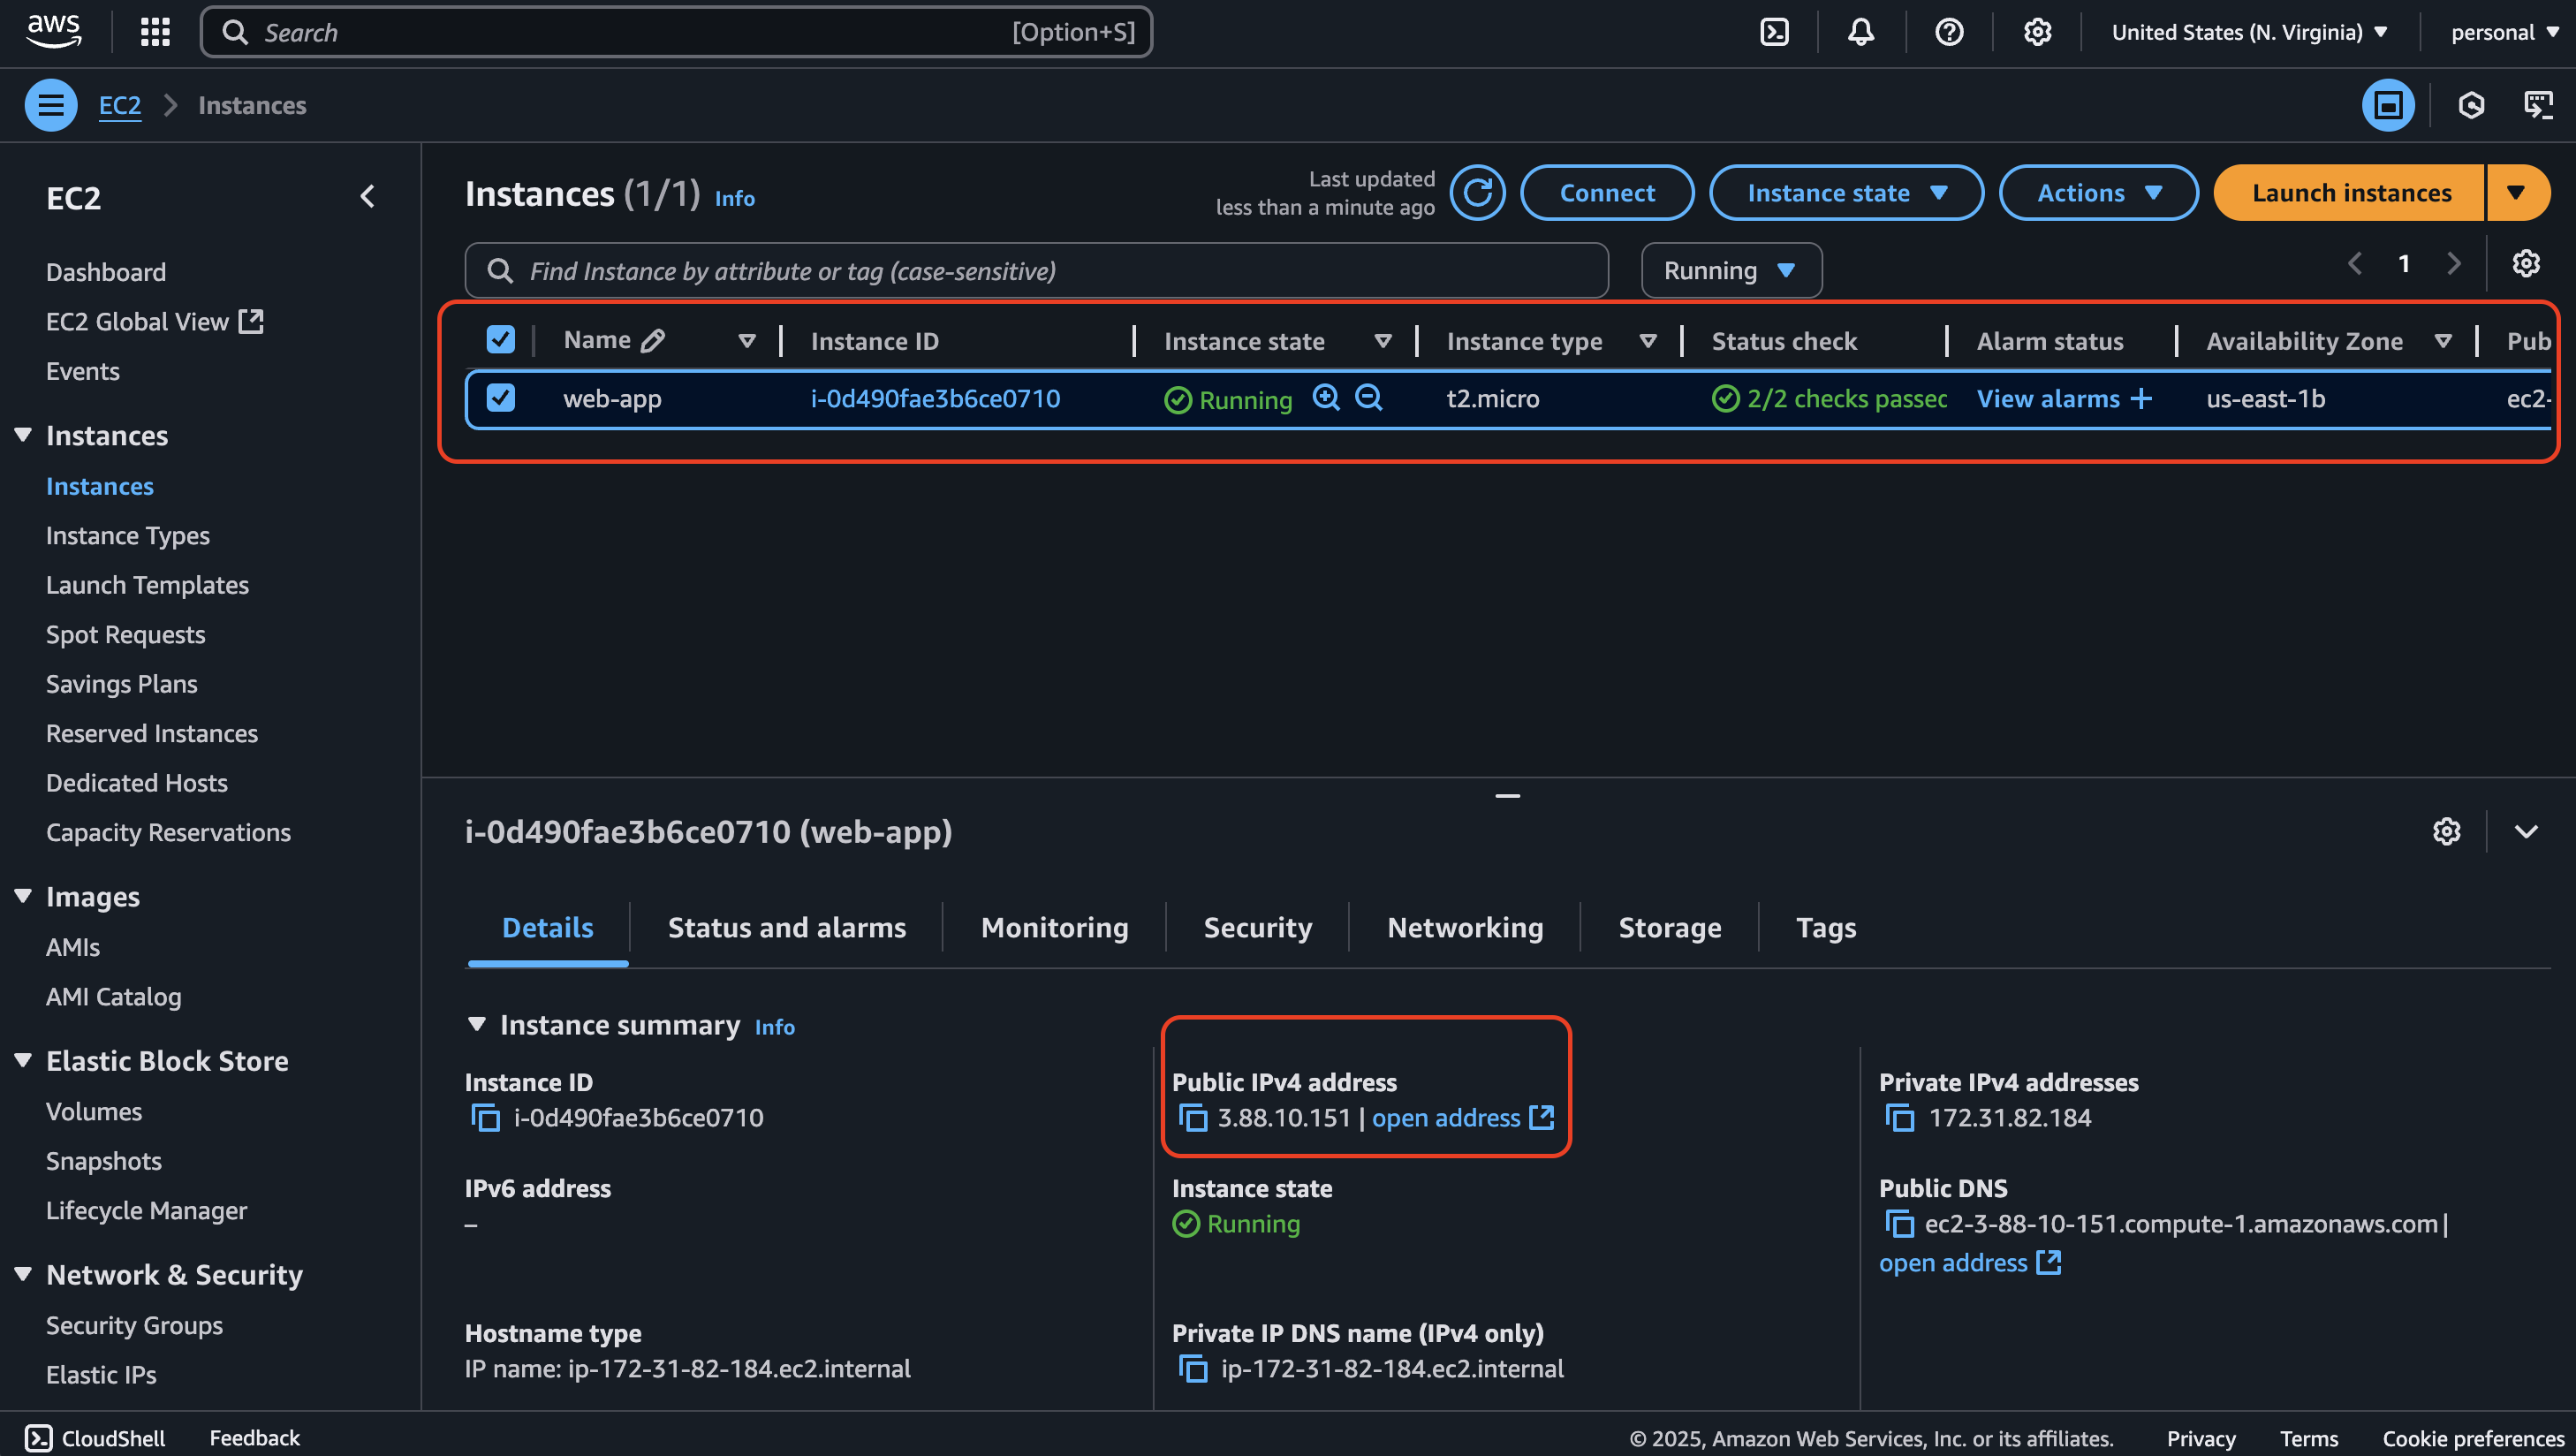
Within a few seconds, you’ll see the instance in a running state.
Wait a few minutes for it to finish initializing and complete configuration.
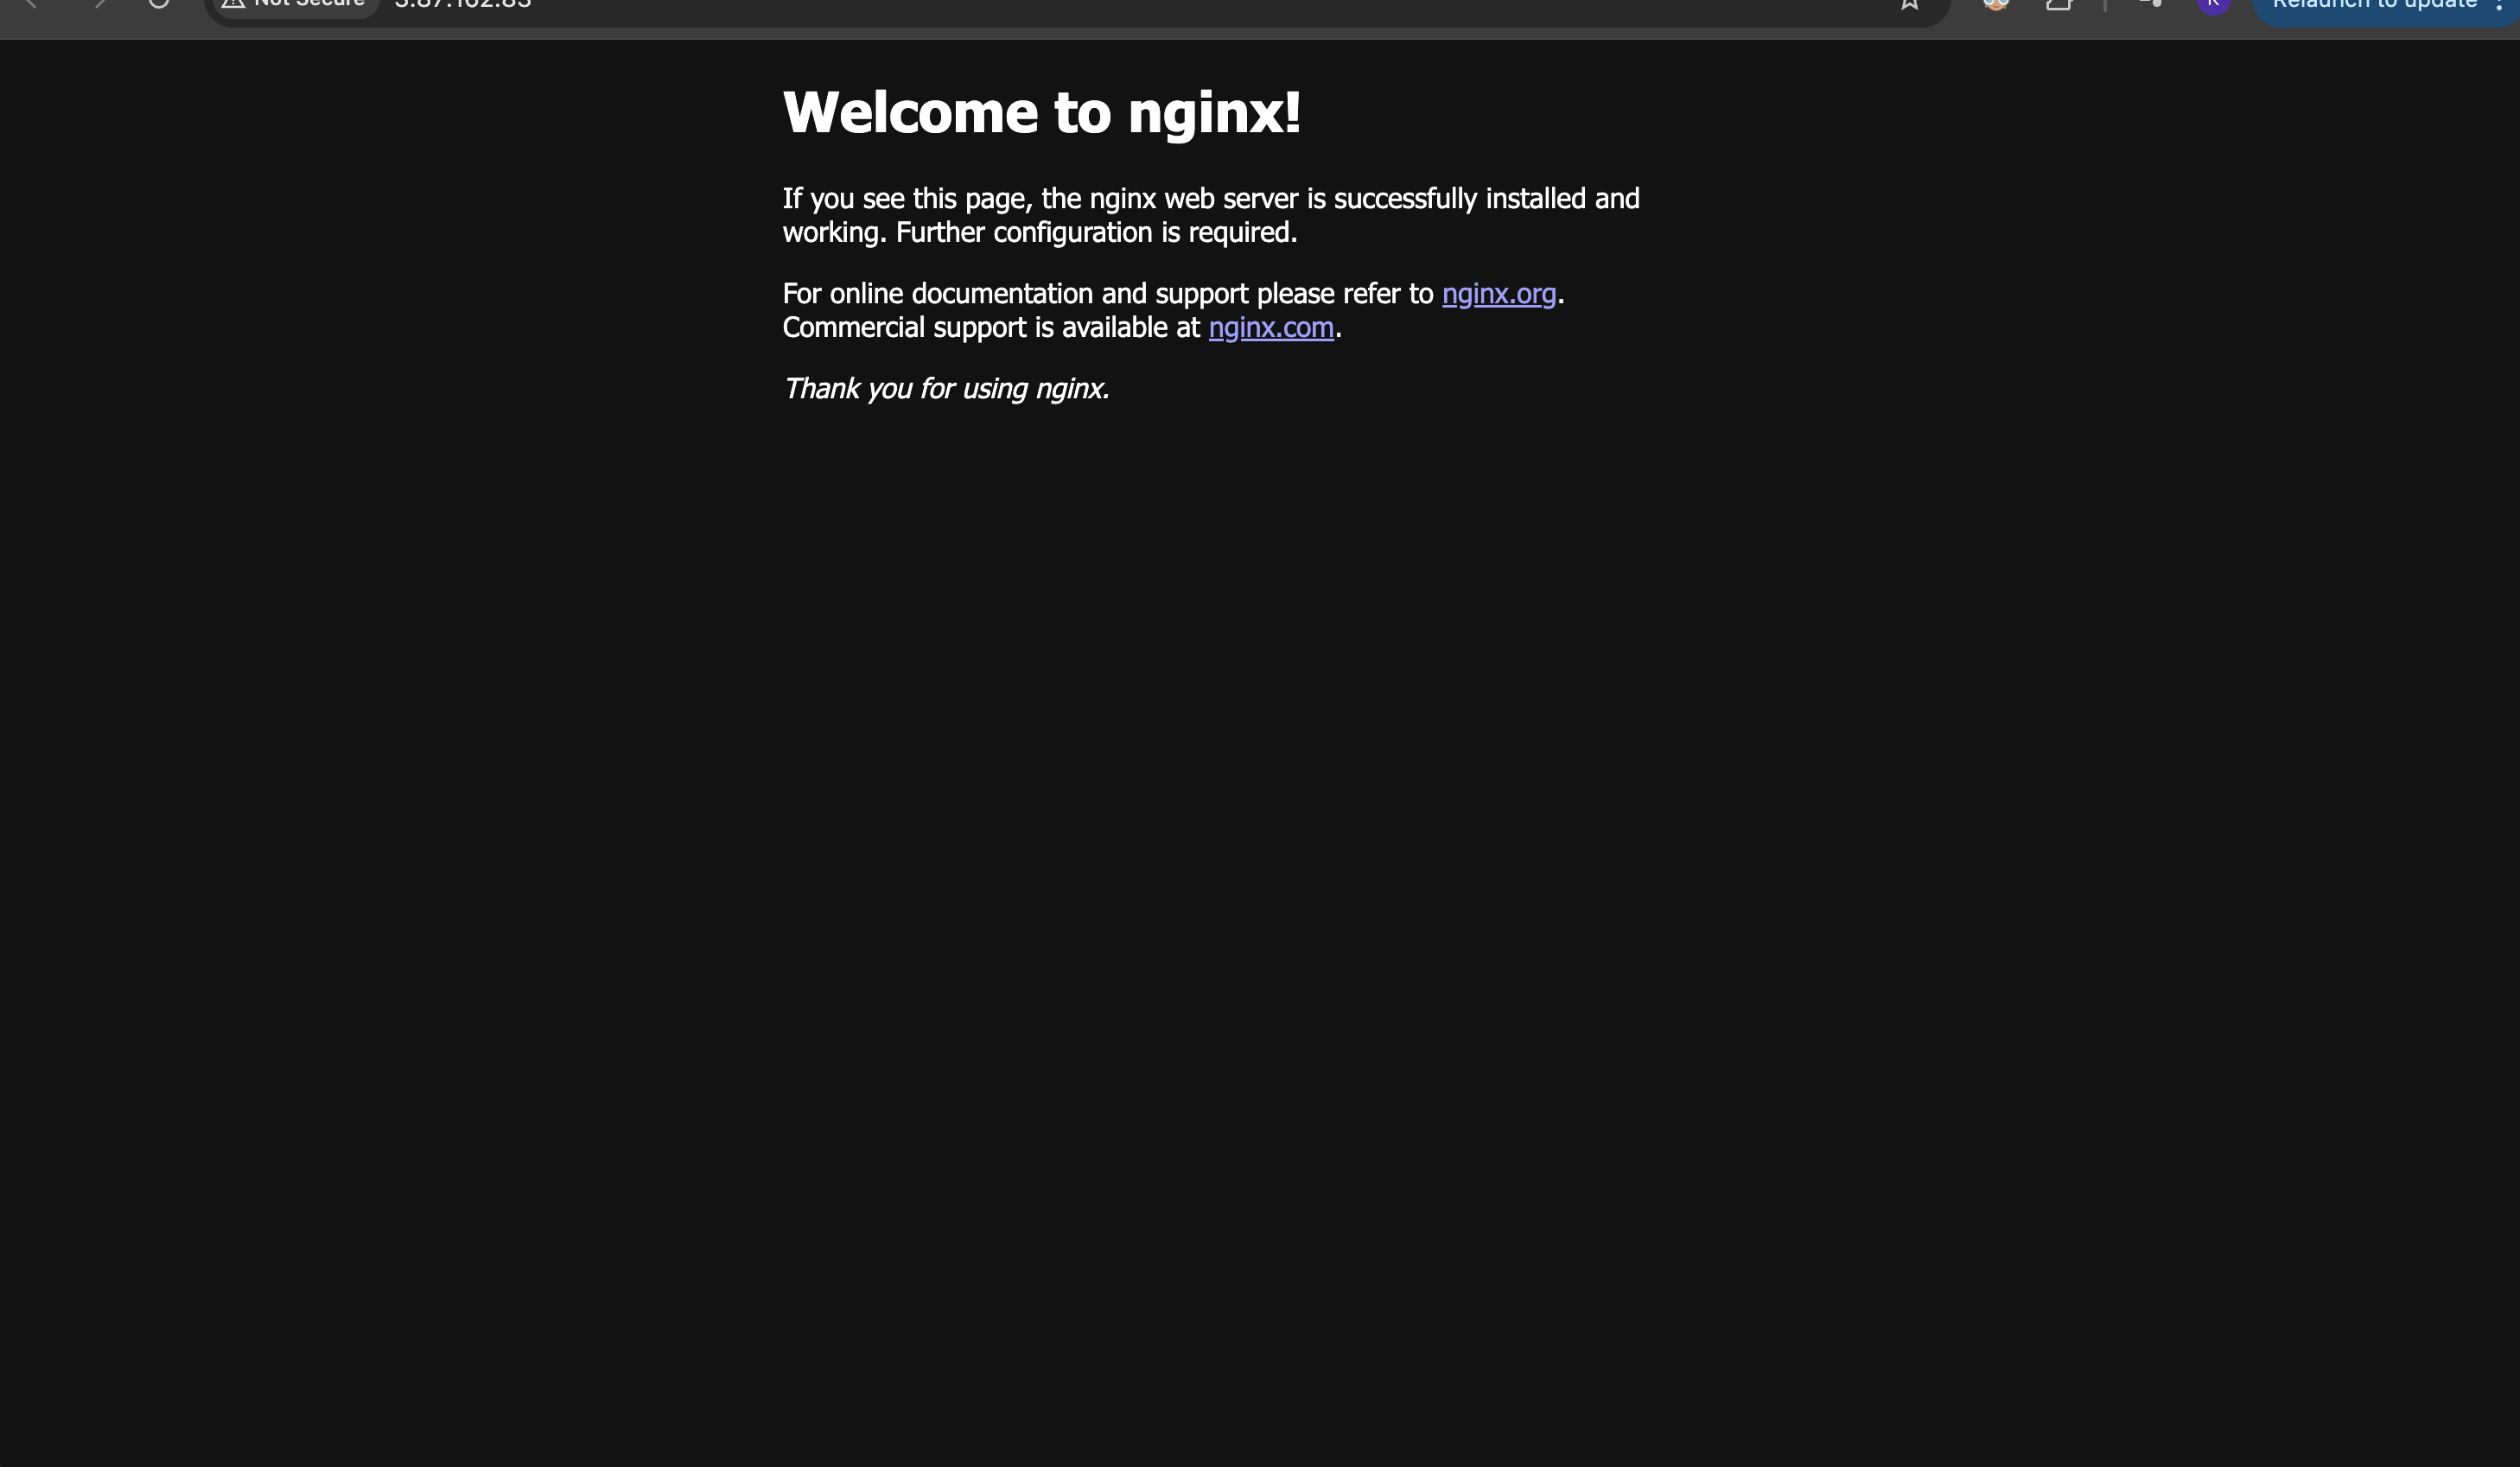
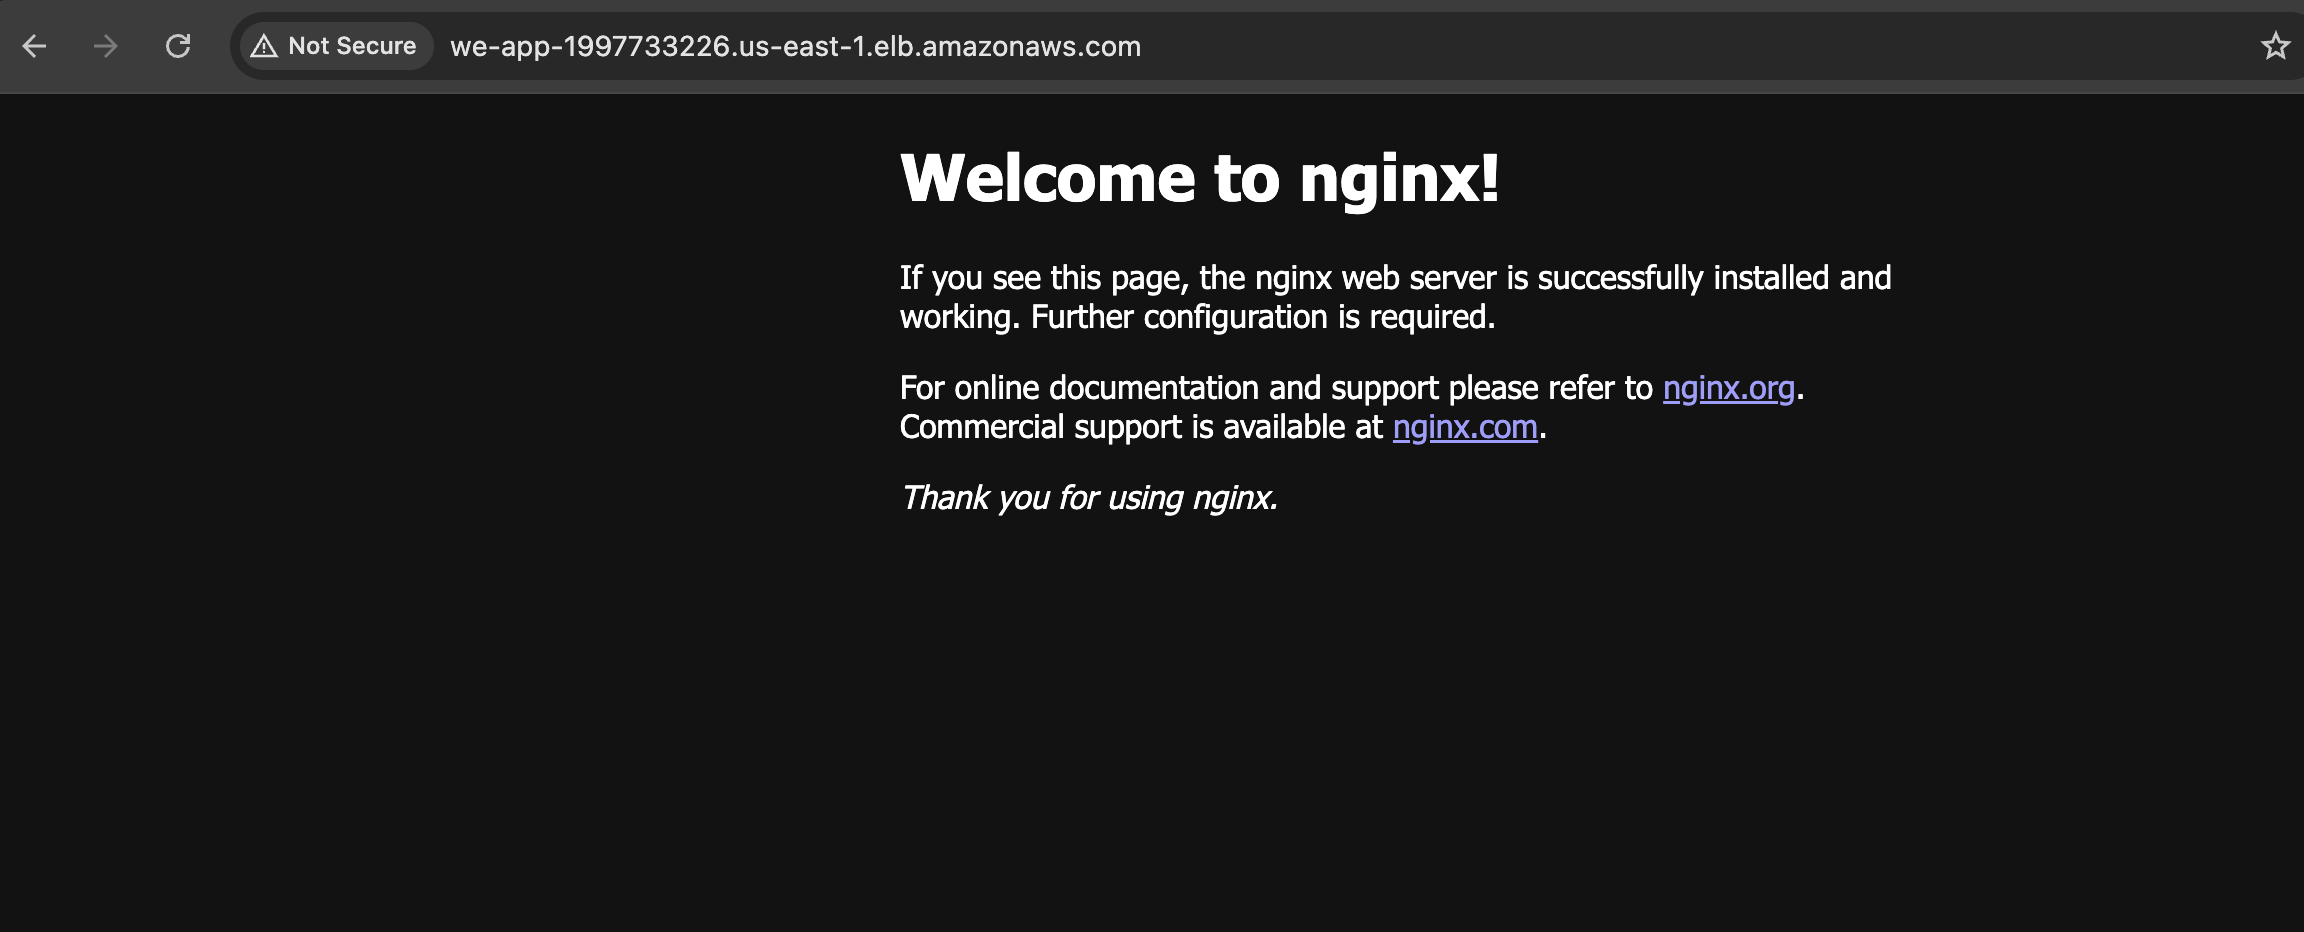
Use the public IP (with http://) to check if Nginx is running.
It may take some time, so wait until the Status Check shows as passed.
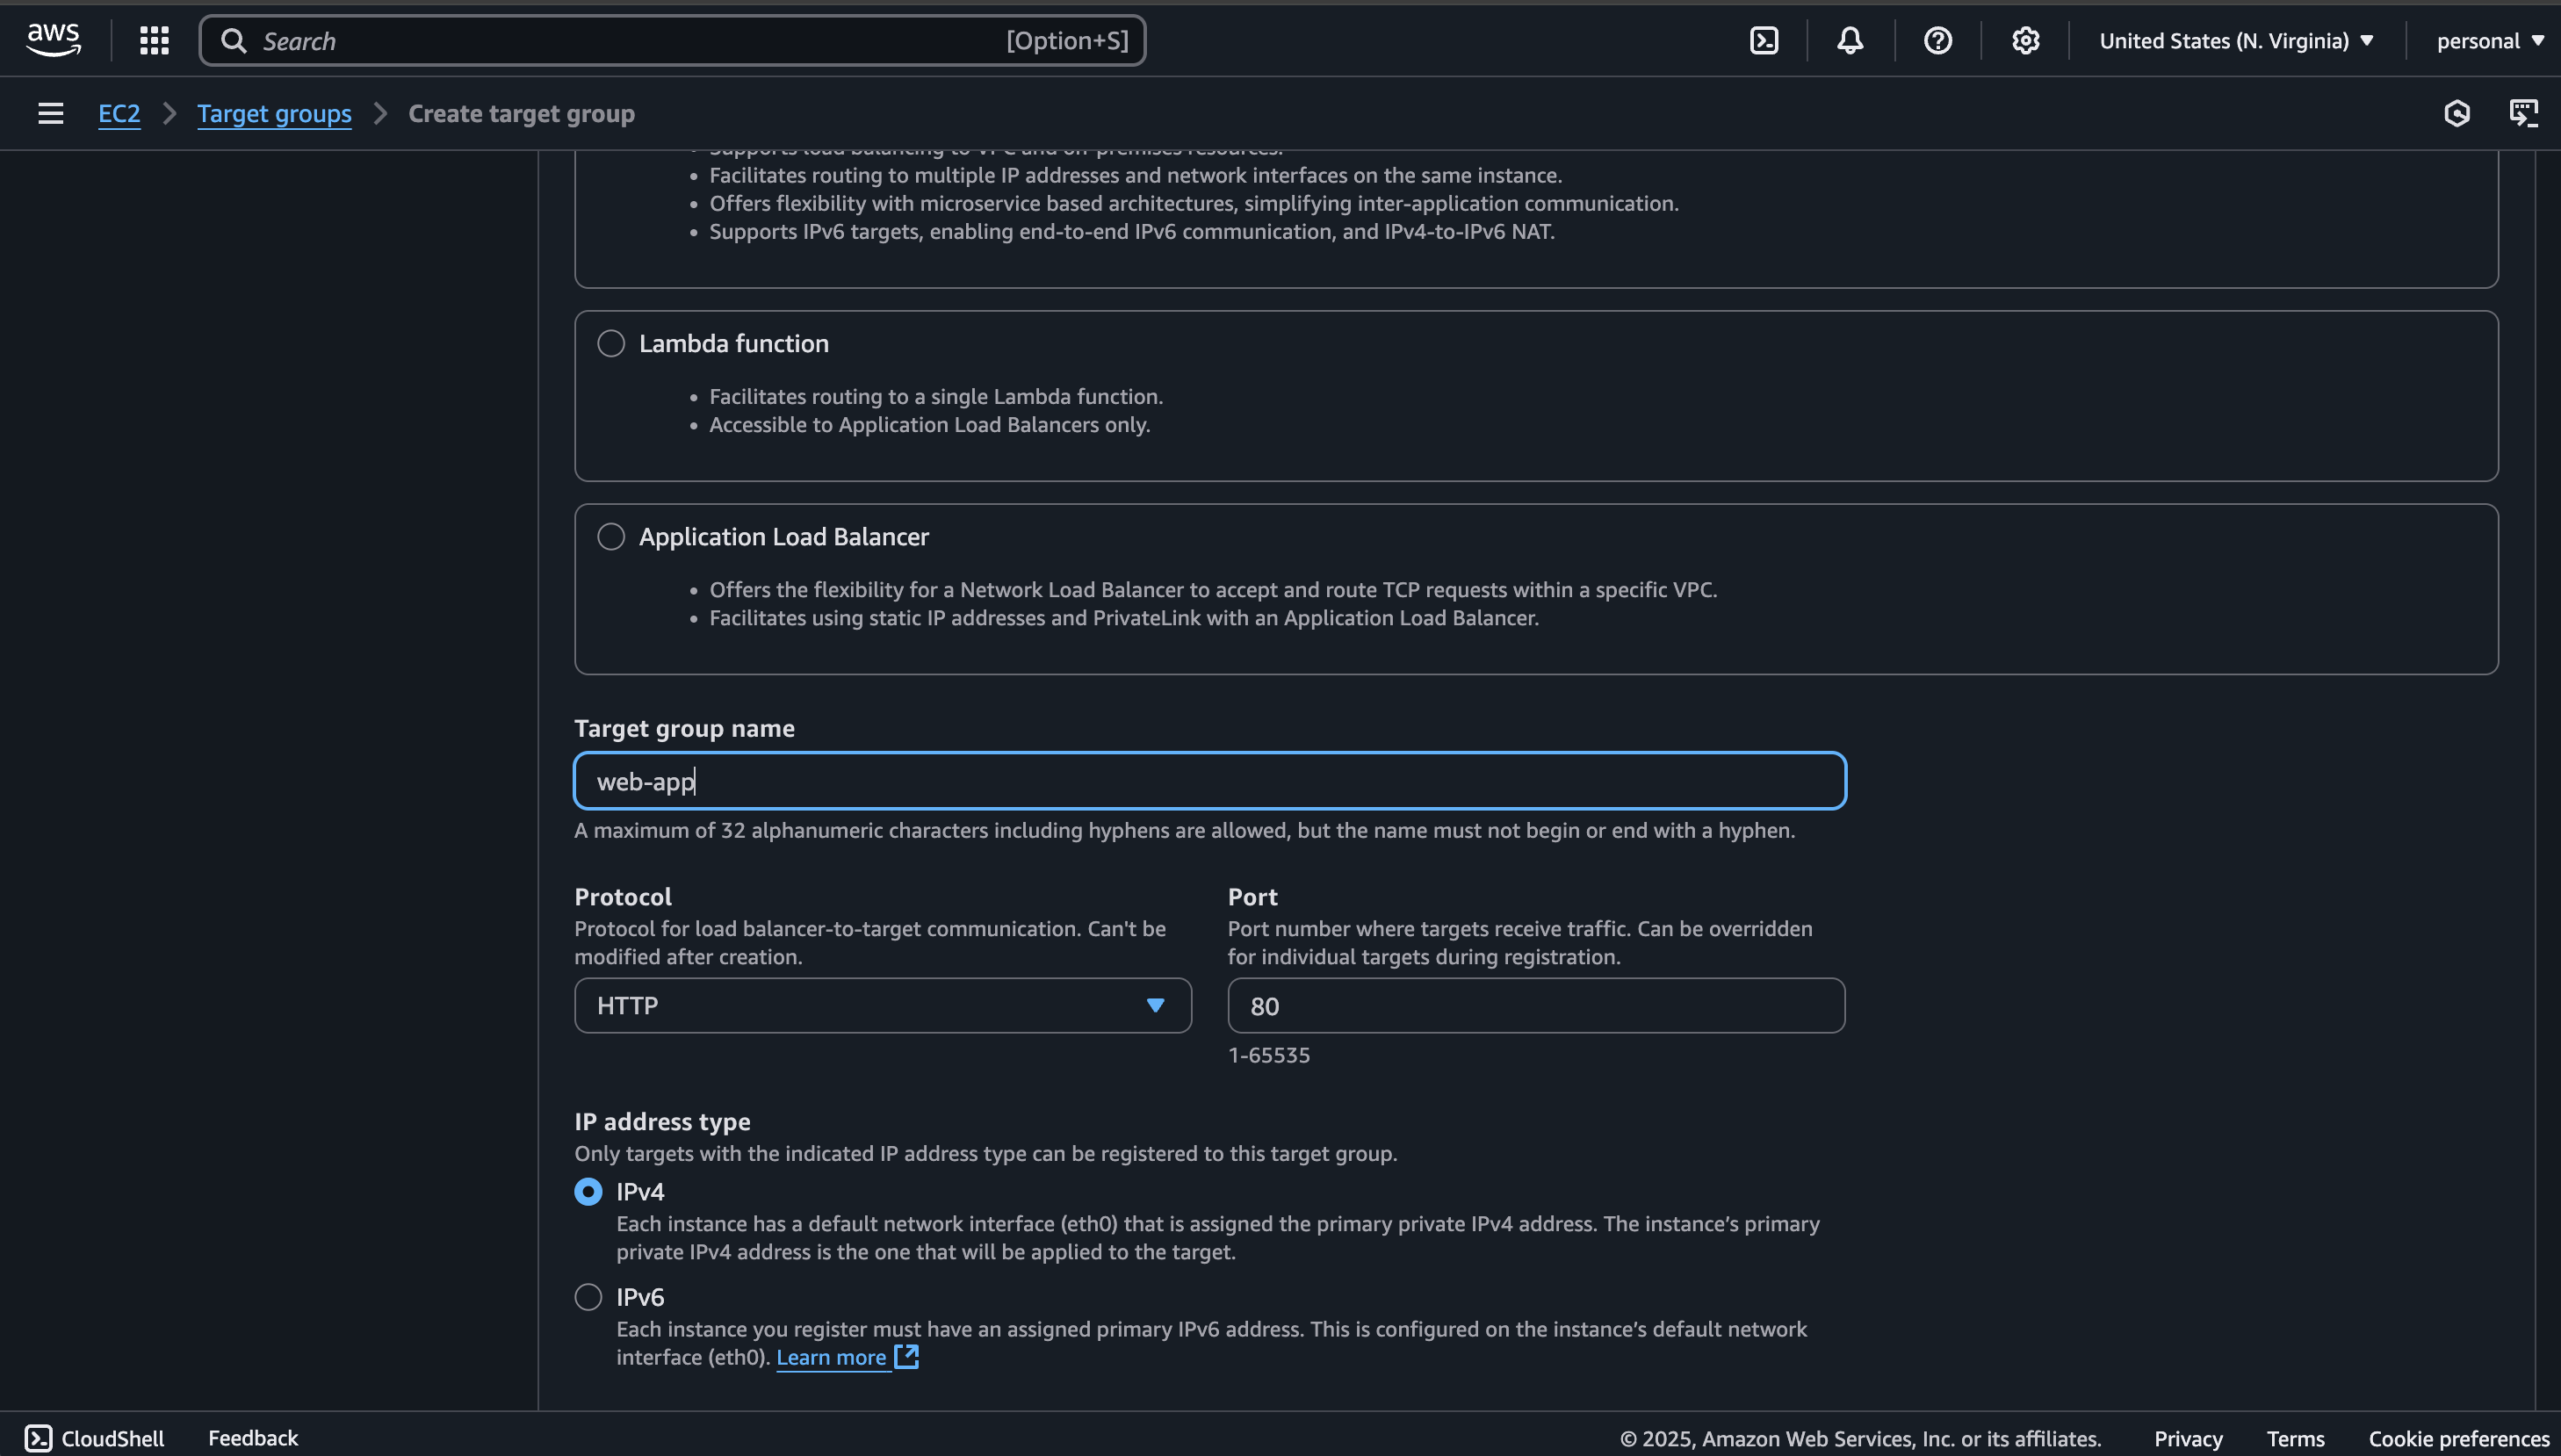
Now go to Target Groups from the left menu and click on Create target group.
Set the Target type to Instances.
Set the Protocol to HTTP and the Port to 80.
Give your target group a name and click on Next.
Now you will see your launched instance listed under Available instances.
Select the instance and click on Include as pending below. It should now appear under Targets.
Click on Create target group to finish.
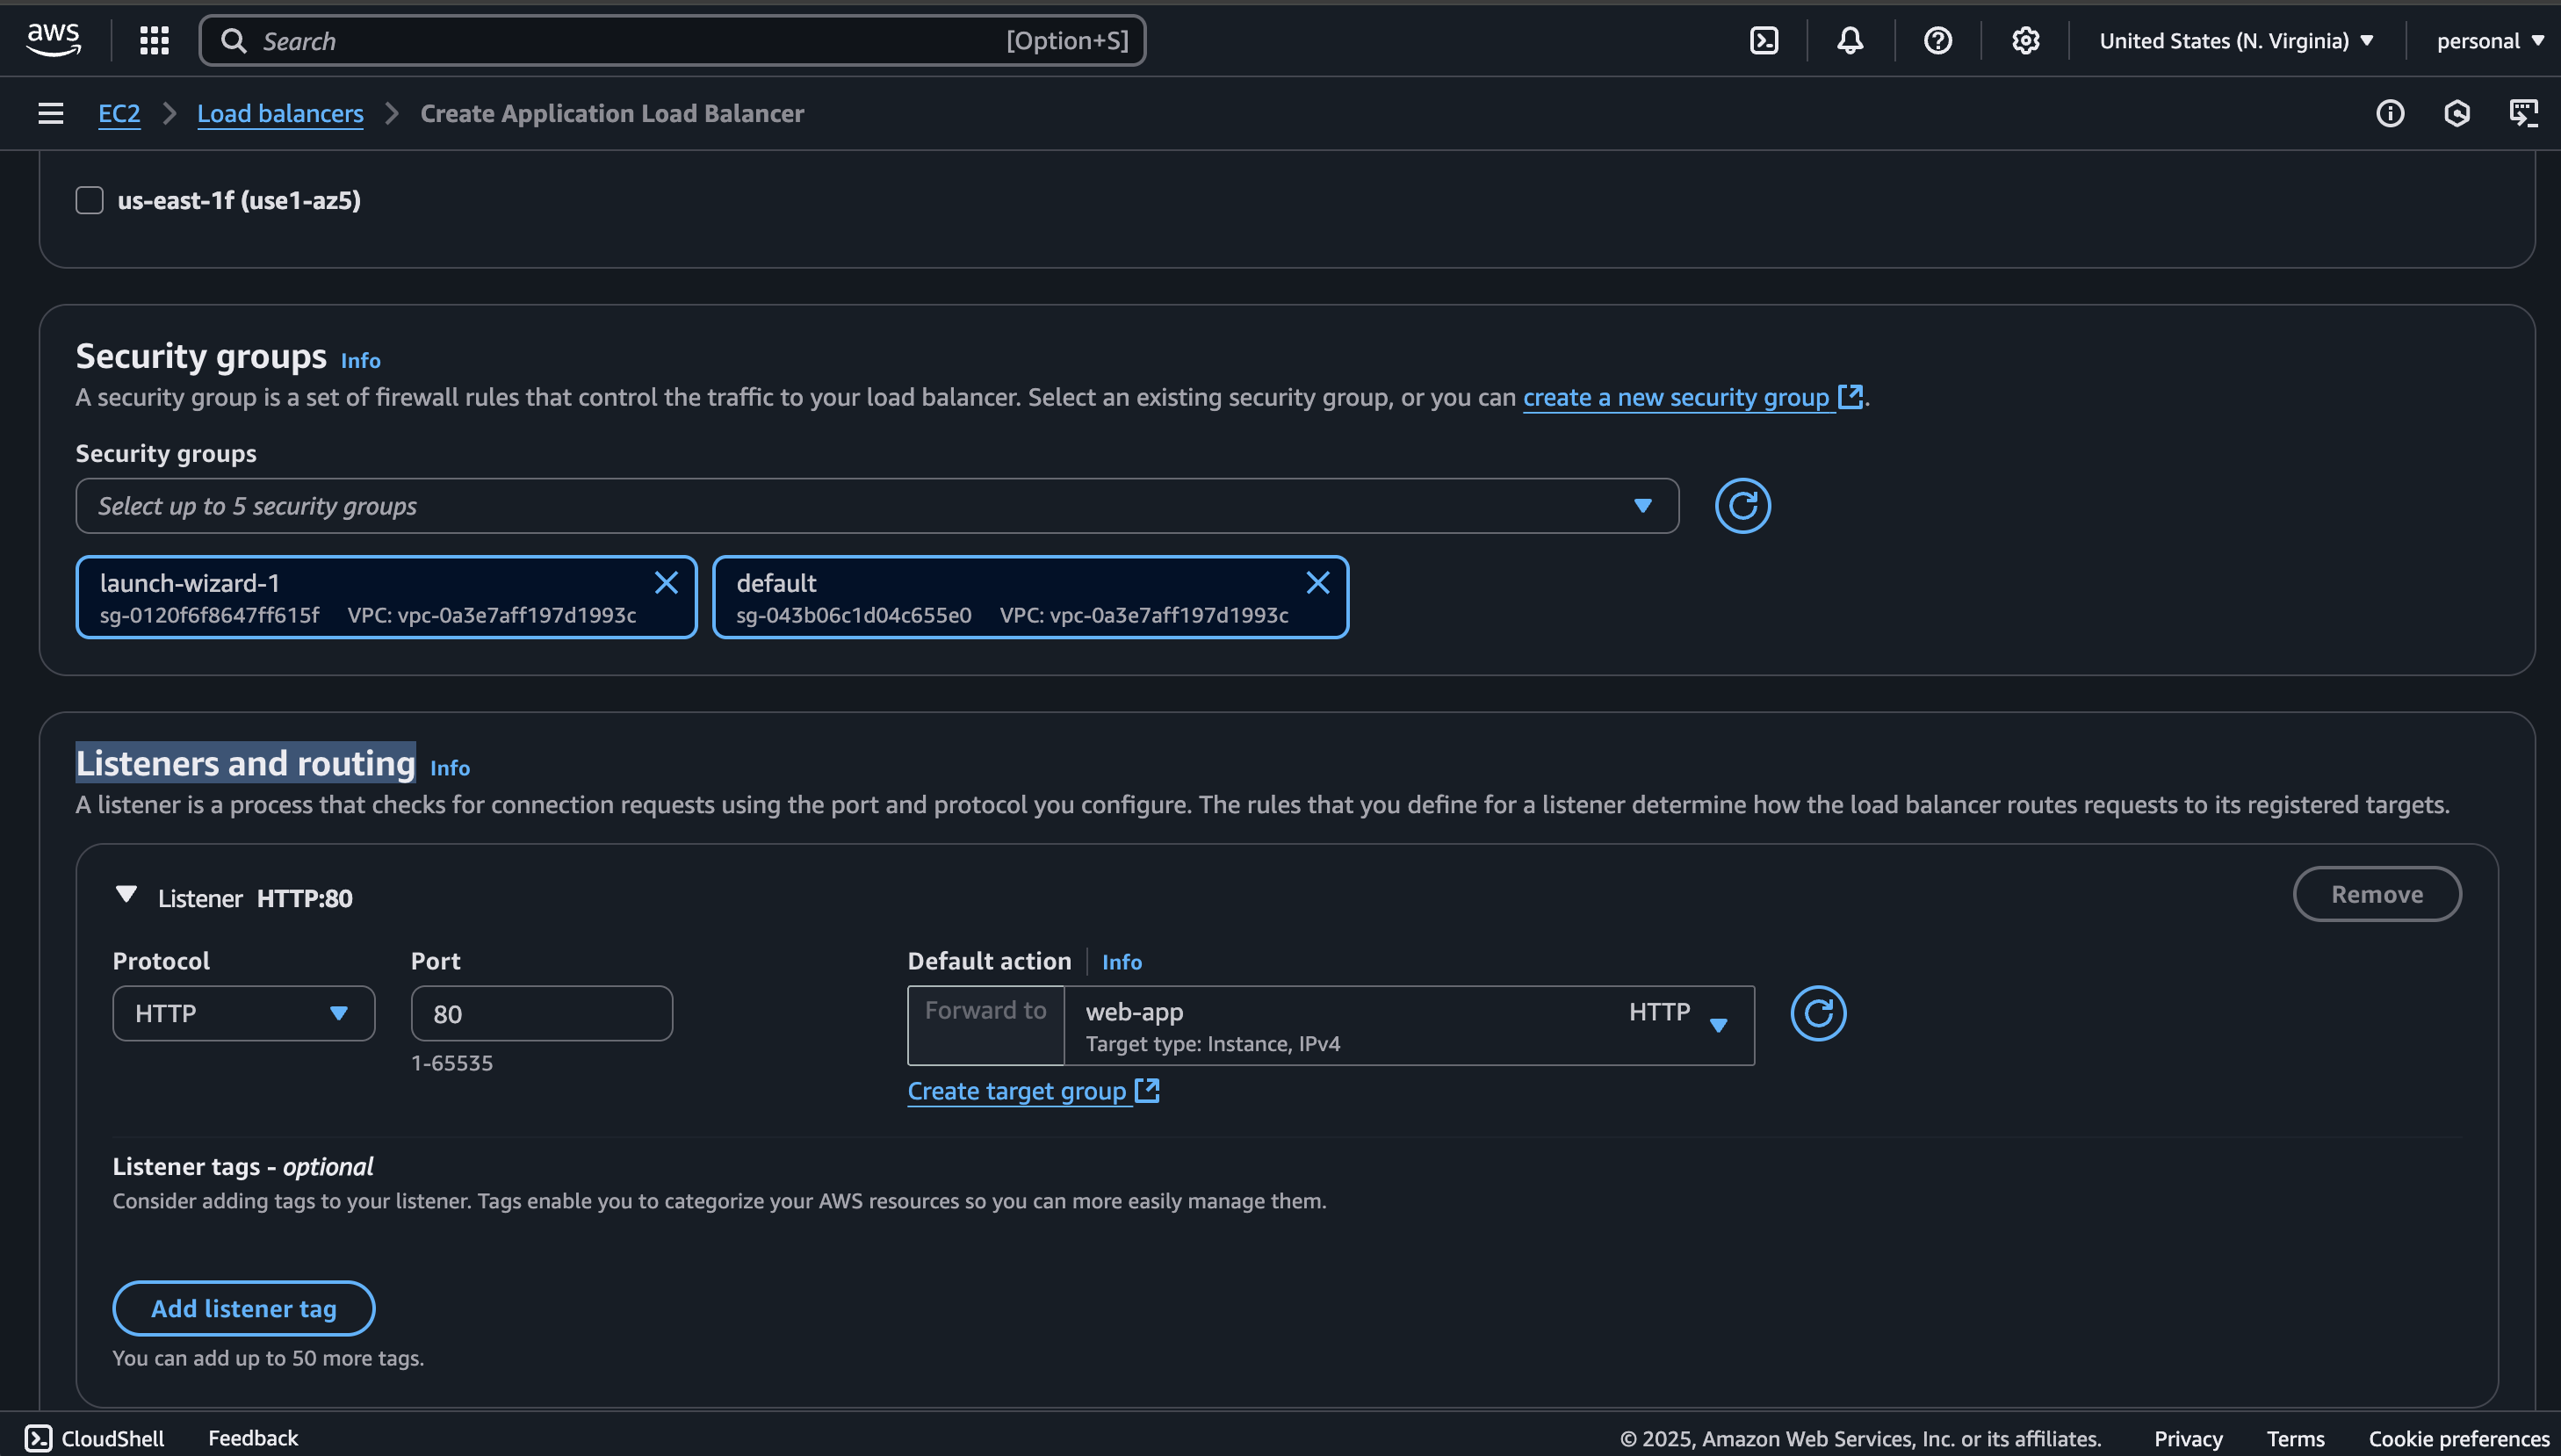
Now go to Load Balancers and click on Create load balancer.
Choose Application Load Balancer and click Create.
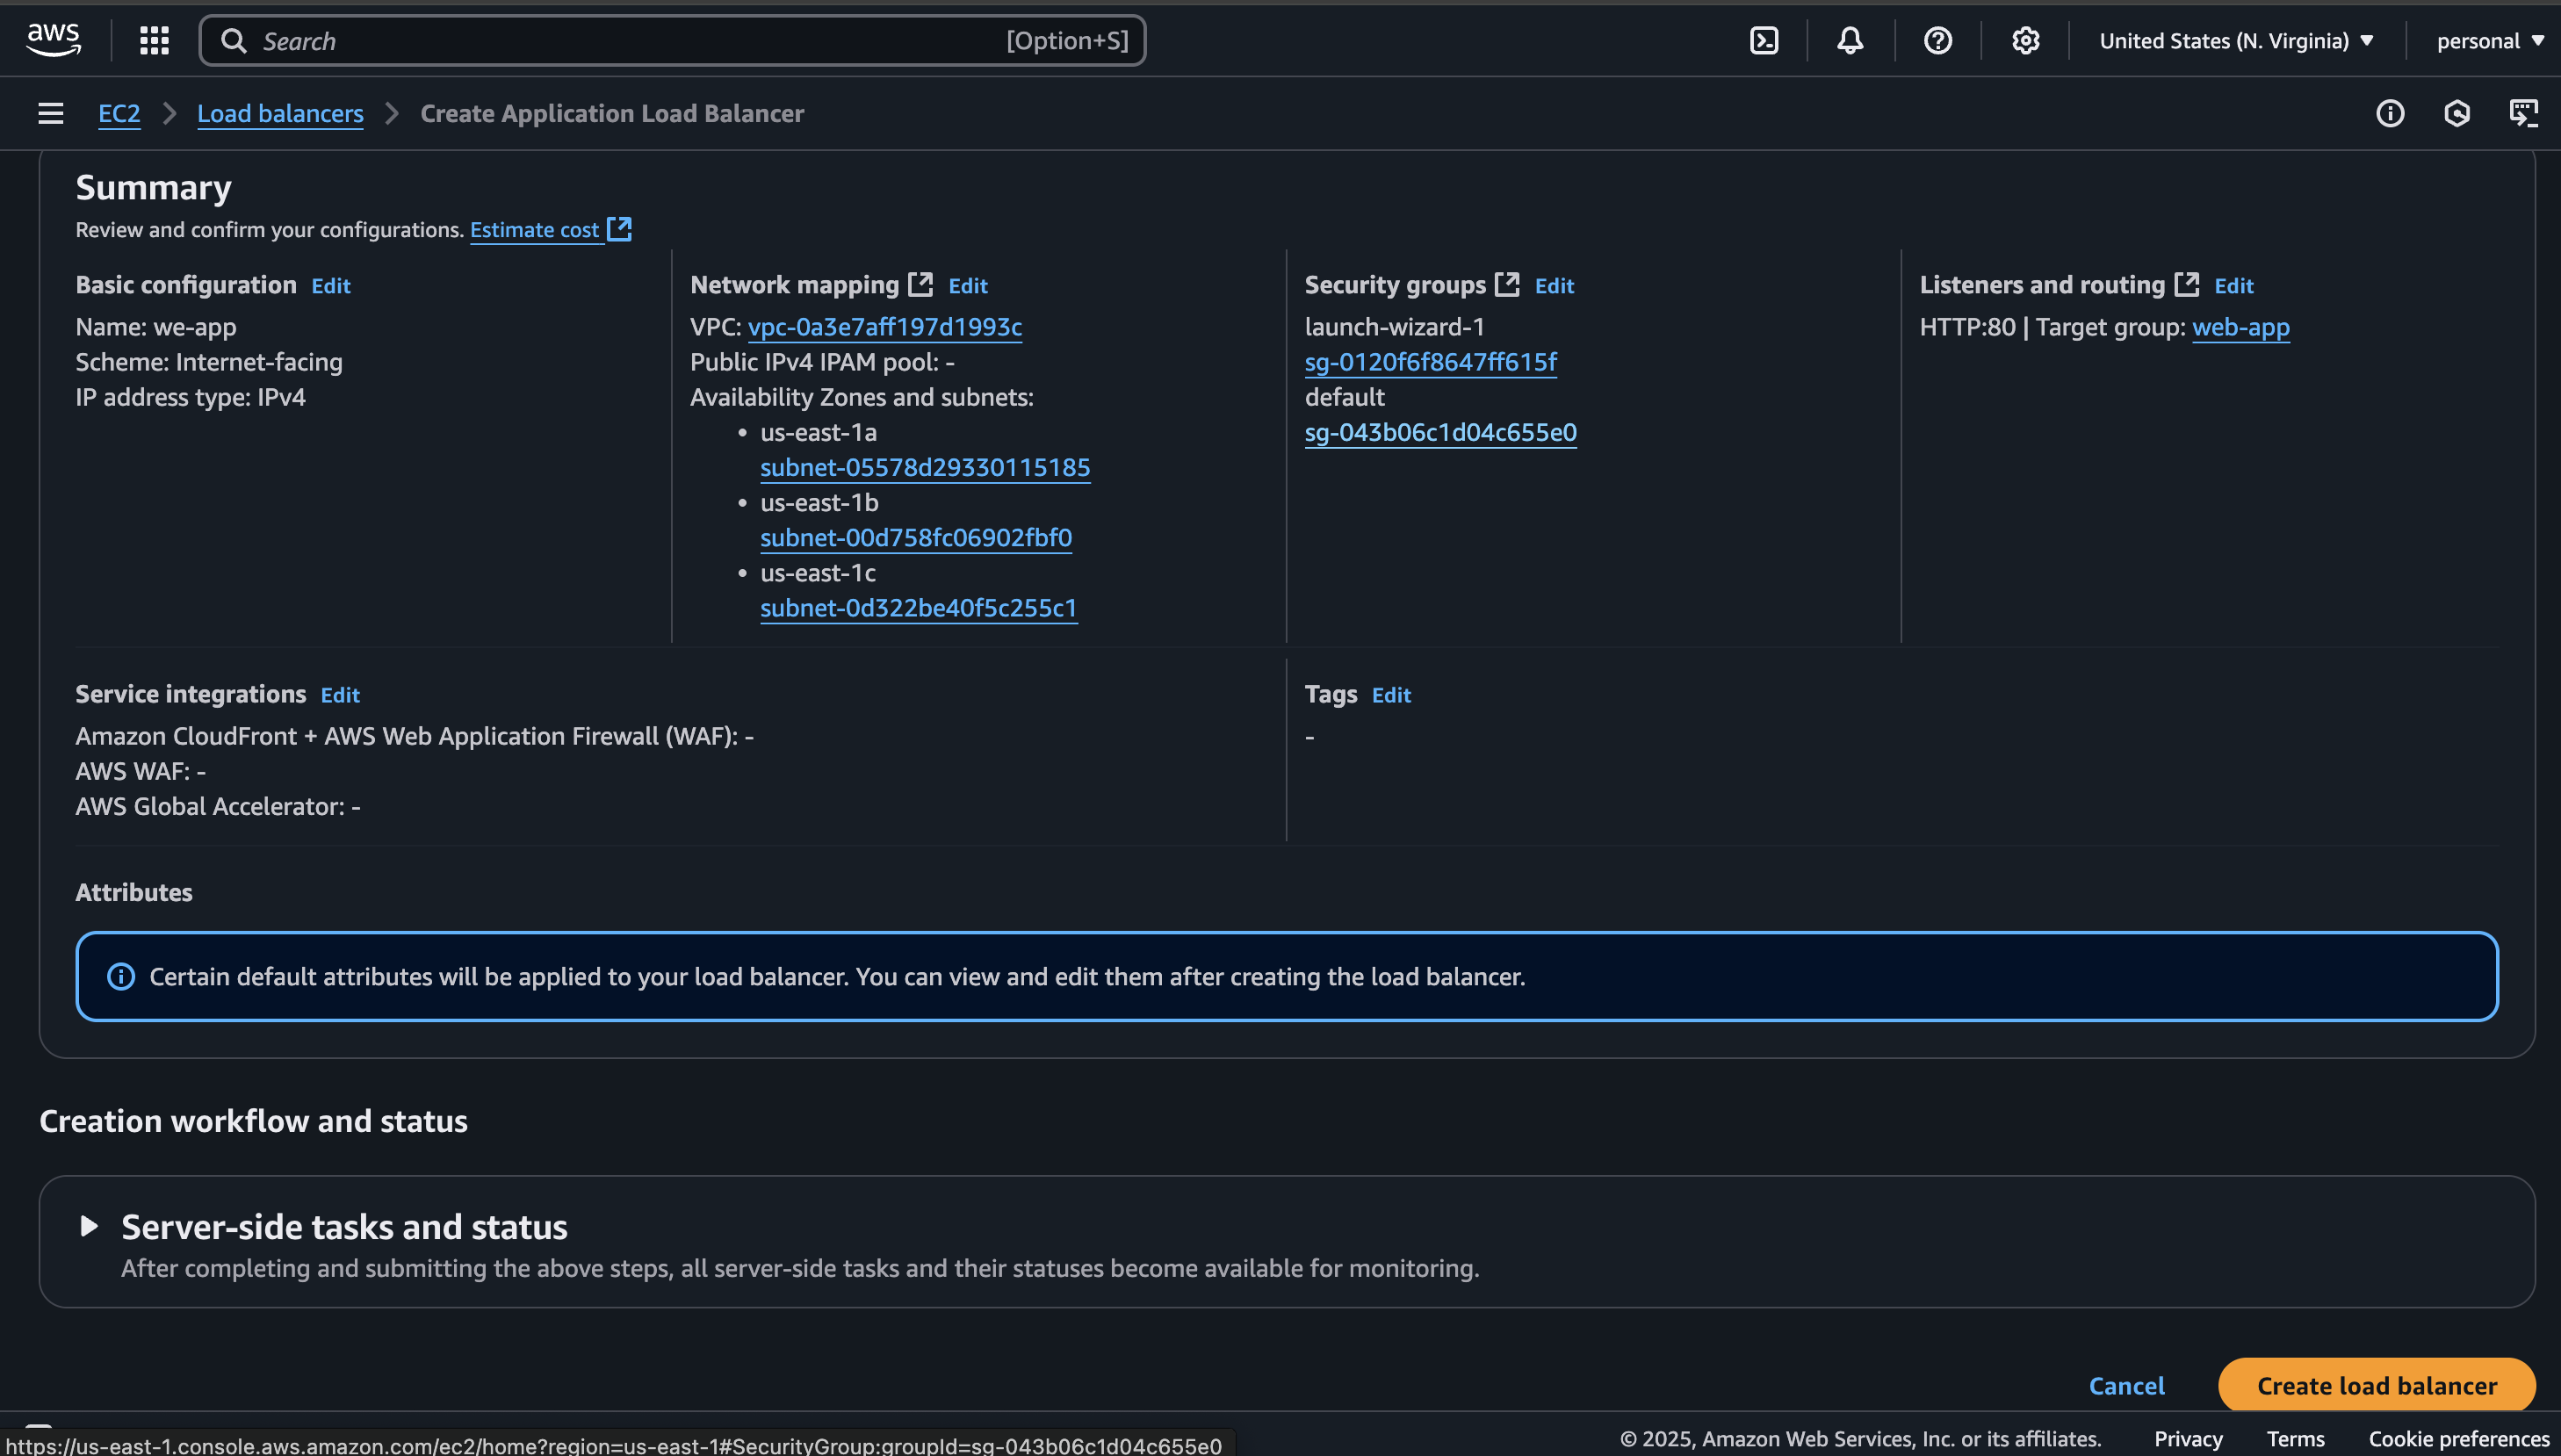
Enter a name for your load balancer.
Set the scheme to Internet-facing
Select one or multiple Availability Zones (AZs)
Under Security Groups, choose an existing security group that has port 80 open.
Under Listeners and Routing, select the target group we just created.
Check the summary and click on Create load balancer.
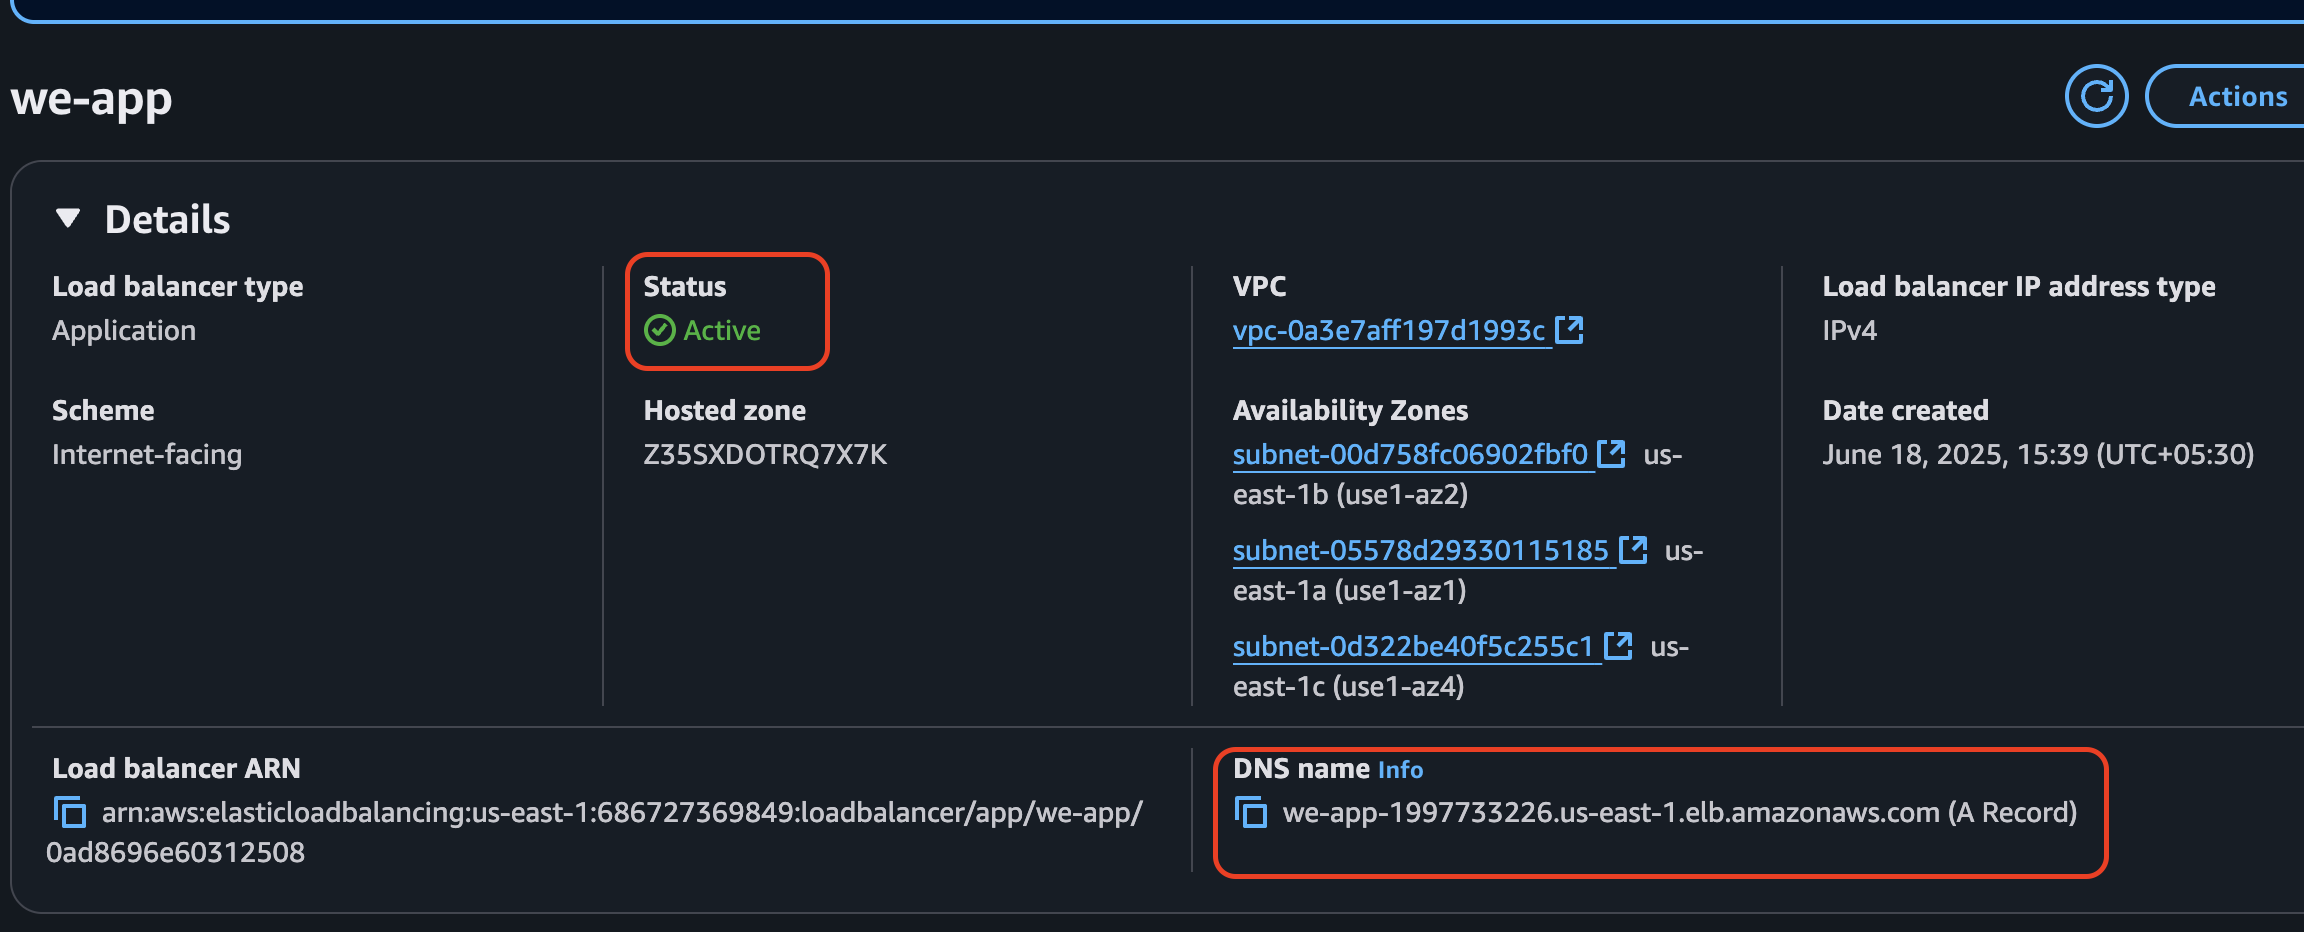
Once created, go to the Details section to check the status. Wait until the status changes to Active.
Using the DNS name of the load balancer, you can access the web server running on the instance.
Summary
You can easily register more servers in the same target group to scale your application horizontally.
As traffic grows, adding more instances allows the load balancer to distribute incoming requests evenly, improving performance and reliability.
This setup provides high availability, fault tolerance, and simplifies management — all without needing to make any changes to the load balancer itself.
It's a flexible and powerful way to handle growing user demand while keeping your infrastructure responsive and resilient.
About the Author
Karan Suneja is a DevOps Engineer with a passion for automation, cloud, and all things tech. He believes in continuous learning, sharing knowledge, and simplifying complex problems.


Comments